Rachael from
pizzarossa
was our lovely June 2013 Daring Bakers’ host and she had us whipping up
delicious pies in our kitchens! Cream pies, fruit pies, chocolate pies,
even crack pies! There’s nothing like pie!

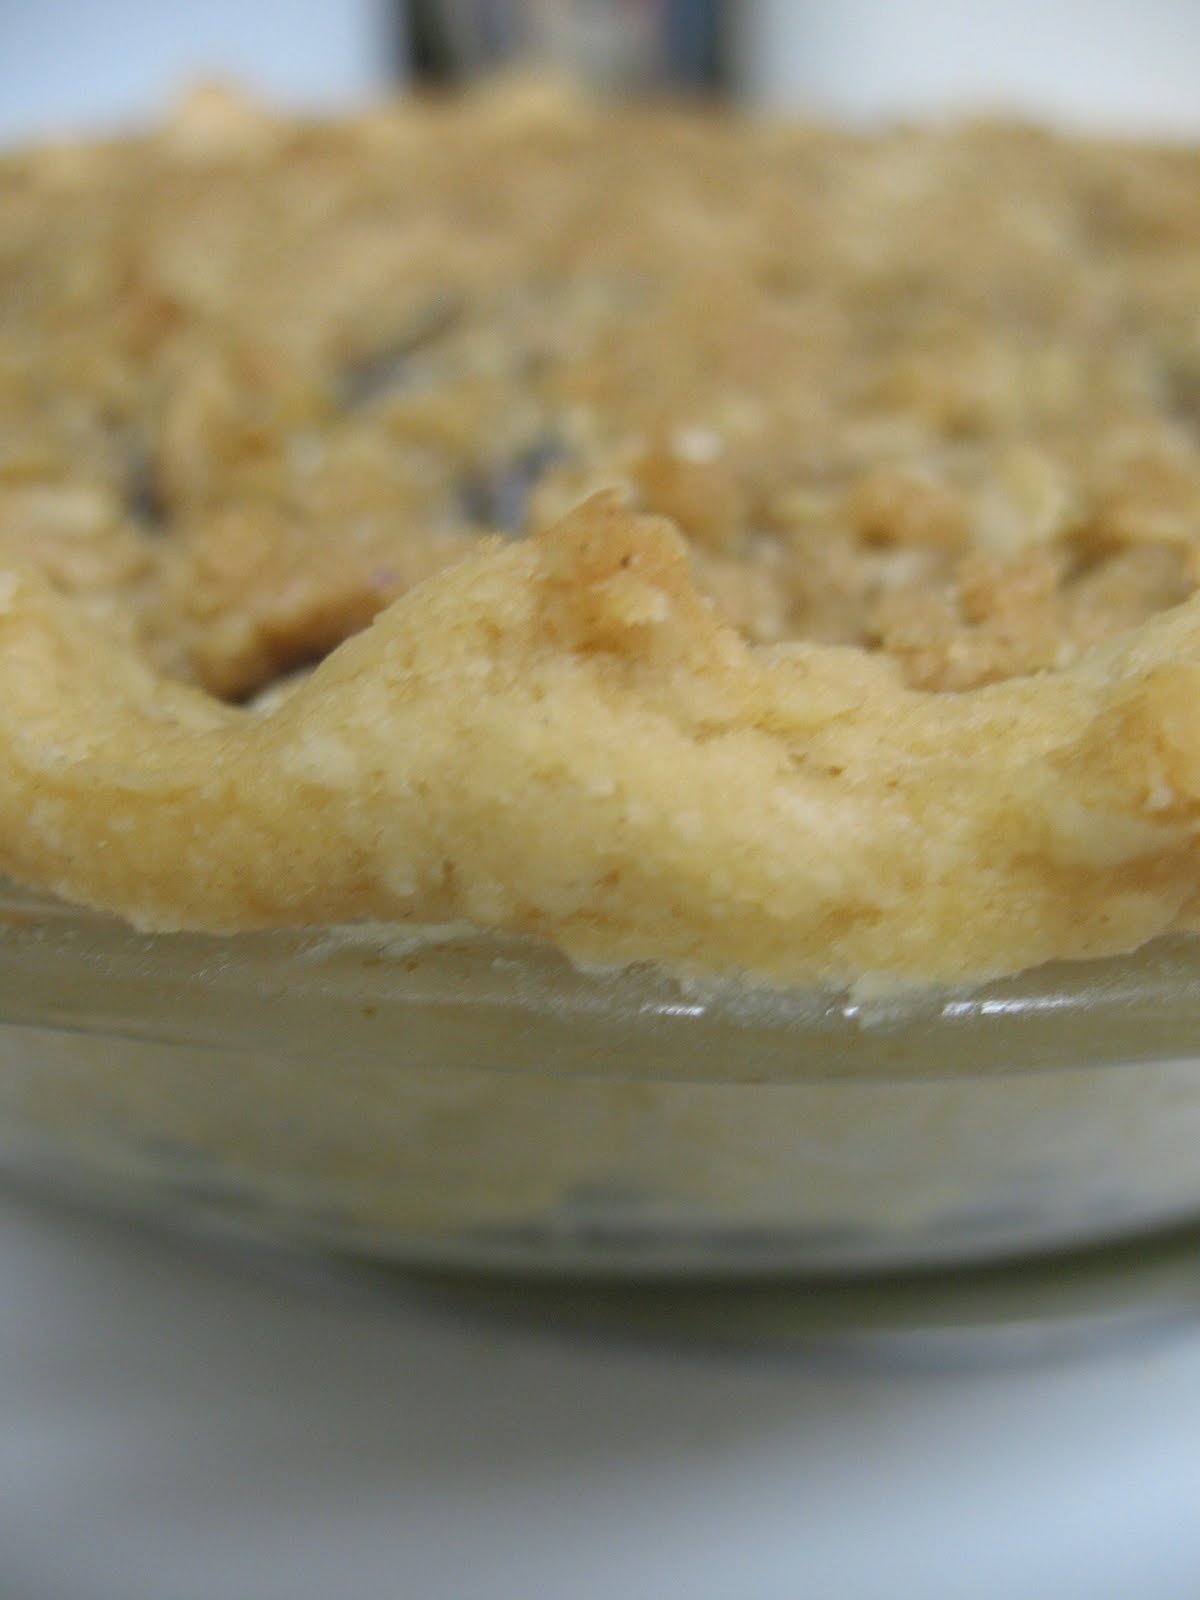
Now, I knew that David would LOVE the apple pie...but I wanted to make the crack pie! Attempt #1...oops, gotta cool for an hour. Not enough time, made cookies. Attempt #2...must cool overnight and I have no cream. Made the apple pie! It was really good. My mom helped cut the apples using our apple-peeler-corer-slicer. It was great! Unfortunately, my dad has the pictures and hasn't sent them to me yet! Maybe I'll update with them later. As for the crack pie...attempt #3 was a success.
I ended up cutting them into little bars and took them to the ER with me. OH SO GOOD! They were gone very quickly. They were definitely ooey gooey. I preferred them straight out of the fridge but still good room temp. I will say that I had a hard time cutting these even in bars...so, I'm not sure how it would have been trying to cut into pie slices. Either way...make the crack pie. That's an order!
Crack Pie
Crust
9 tablespoons (1 stick + 1 tbsp) (135 ml) (4½ oz) (125g) unsalted
butter, room temperature, divided (6 & 3 tbsp; 85gm & 40gm)
5 1/2 tablespoons (85 ml)(2½ oz) (70 gm) (packed) light brown sugar, divided (4 & 1½ tbsp; 50 gm & 20 gm)
2 tablespoons (30 ml) (30 gm) (1 oz) white sugar
1 large egg
3/4 cup plus 2 tablespoons (210 ml) (80 gm) (2¾ oz) old-fashioned oats
1/2 cup (120 ml) (2½ oz) (70 gm) all-purpose flour
1/8 teaspoon (2/3 gm) baking powder
1/8 teaspoon (2/3 gm) baking soda
1/4 teaspoon (1½ gm) salt
Position rack in center of oven and preheat to moderate
350°F/180°C/gas mark 4. Line a 13x9x2 inch/33x22x5cm metal baking pan
with parchment (baking) paper. Lightly spray or butter a 9 inch/22cm
diameter glass or ceramic pie dish. Combine 6 tablespoons (85 gm) of the softened butter, 4
tablespoons (50 gm) of the brown sugar and the white sugar in medium
bowl. Using an electric mixer, beat until light and fluffy, about 2
minutes. Add egg and beat until pale and fluffy, about 1 minute. Add oats, flour, baking powder, baking soda, and salt and beat until well blended, about 1 minute. Dump oat mixture into prepared baking pan and press out evenly to edges of pan. Bake until light golden, 18 minutes. Transfer baking pan to wire rack and cool cookie completely, about an hour.
Using your fingertips, crumble the cookie a into large bowl -
there should be no identifiable pieces of cookie remaining. Add the
remaining 3 tablespoons (45 gm) butter and 1-1/2 tablespoons (20 gm)
brown sugar. Rub in with your fingertips until the mixture is moist and
sticks together when pressed between your fingers.
Transfer cookie crust mixture to pie dish. Using your fingers,
press mixture evenly onto bottom and up sides of pie dish (about 1
inch/2.5cm up the sides if your pie dish is deep). If your pie dish is
shallow, place it on a baking sheet in case of overflow.
Filling:
3/4 cup (160 ml) (170 gm) (6 oz) white sugar
1/2 cup (packed) (120 ml) (100 gm) (3½ oz) light brown sugar
1 tablespoon (15 ml) (8 gm) (¼ oz) dry milk powder
1/4 teaspoon (1½ gm) salt
1/2 cup (1 stick) (120mlk) (4 oz) (115gm) unsalted butter, melted, cooled slightly
6 1/2 tablespoons (100ml) heavy whipping cream
4 large egg yolks
1 teaspoon vanilla extract
Powdered sugar for dusting
Position rack in center of oven and preheat to moderate
350°F/180°C/gas mark 4. If possible, use bottom-only heat, or the
filling may brown too quickly. Whisk both sugars, milk powder, and salt together in a medium bowl. Add melted butter and whisk until blended. Add cream, then egg yolks and vanilla and whisk until well blended. Pour filling into crust.
Bake 30 minutes (filling may begin to bubble up). Reduce oven
temperature to 325°F/160°C/gas mark 3. Continue to bake until filling is
brown on top and set around edges but center still jiggles slightly,
about 20 minutes longer. Cool pie completely in pie dish on wire rack. Chill uncovered overnight. Sift powdered sugar lightly over top of pie. Cut pie into thin wedges and serve cold.
Apple Pie
Crust
2/3 cup (160 ml) (150 gm) (5-1/3 oz) unsalted butter
1¾ cups (420 ml) (250 gm) (8-2/3 oz) all-purpose flour
2 teaspoon (10 ml) (10 gm) (1/3 oz) sugar
1/4 teaspoon (1½ gm) salt
3-8 tablespoons (45-120 ml) cold water
Weigh/measure out the correct amount of butter, wrap it in foil and freeze it for at least 30 minutes. Sift the flour, sugar and salt into a large bowl. Using the large holes on a box grater, grate the frozen butter
directly over the flour in the bowl. Hold the butter by the foil to
avoid warming it up too much and work as quickly as possible. Using a table fork, toss the grated butter in the flour until it's all coated. Alternatively, finely chop the butter and rub in with your
fingertips, working quickly to avoid warming it. This is best left to
those lucky folk with cool hands!
Sprinkle 3 tablespoons (45 ml) of cold water over the mixture and
mix together with the fork. Add more water, spoon by spoon, as needed -
it will depend on temperature, humidity and a million other factors, but
the finished dough should be moist and starting to come together, but
not wet. I used 7 tablespoons (315 ml). Use your fingertips to test if
it's sticking together. Finish by using your hands to quickly bring the dough together into a ball. Just press, don't knead. Wrap dough in plastic and refrigerate for at least 30 minutes.
Filling:
1 – 1½ kg (2¼ to 3-1/3 pounds) apples (depending on the depth of your pie dish)
1 cup (240 ml) (200 gm) (7 oz) light brown sugar, lightly packed (more or less to taste)
1 tsp ground cinnamon
Preheat oven to hot 220°C/425°F/gas mark 7 . Lightly grease a deep
9"/24cm ceramic or metal pie dish. Take 2/3 of the pastry dough and roll out to fit pie dish, right up to the rim. Line
the pie dish with it, prick all over the bottom with a fork and set
aside. Peel, quarter, core and slice the apples (or use apple-peeler-corer-slicer) and place in a bowl. How
tightly you can pack them into the pie depends on how thinly they are
sliced. Sprinkle the brown sugar and spice(s) over the apples and toss well to coat. Pack the apples tightly into the lined pie dish. The filling can come up above the rim of the dish in a mound. Roll out the remaining pastry dough to fit over the apples. Place the dough lid on the pie and press the edges together. Trim the
edges as necessary and crimp the seam closed with your fingers or the
back of a fork.
Place pie dish on a baking sheet and put it into the center of
the oven. Bake for 20 minutes, then reduce heat to moderate
180°C/350°F/gas mark 4 and bake for a further 30 minutes. The top should
be light golden brown. Serve hot, warm or cold.


 The form I have always had is the the form made with sweetened condensed milk. Still good, but I guess more of the semi-homemade form. At the beginning of the month I had hoped to make this for a get together with friends. Weeeelllllll, both of my options for that fizzled out and I was left wondering who I would make this pie for. Cue chimes! My parents came to town this weekend for a wedding and I got to make the pie for them...so, Daddy ended up getting to try it.
  Making the pie took longer than I thought, only because I didn't read the instructions before I started. The most time consuming part was the crust because it requires two sets of chilling and two sets of baking. Other than that, this was actually easier than I thought. The crust for the pie is more of a shortbread, which I love even though it has so much butter! I decided to use my food processor that I got for Christmas to make the crust...LOVE, LOVE, LOVE the food processor! The dough was kind of hard to roll with the rolling pin; so, once I got it to a decent thickness, I just placed it in the pie plate and pressed it out. I don't know if that is why, but after the second baking, the center of the crust had puffed up quite a bit. It didn't really have any detrimental effect on the pie but kind of had me worried at first. On to the custard.
  SO much easier than I thought. To me, the hardest part was juicing the lemons as I don't have a juicer yet. I was concerned that the lemon wouldn't be strong enough. HA! This had such a strong, wonderful lemon taste. And the meringue...I love meringue. It turned out perfectly. I wish I hadn't cooked it quite as long as I did, but it still tasted fine and was nice and tall.
 Time to serve it up!!! What did my reviewers think?
  Mama really liked the crust, while Daddy says he prefers his Mama's (a traditional, thinner pie crust). I think that the thinner crust would be really leaky and probably wouldn't hold up to the moisture of this filling. Daddy just loved the pie as a whole.
  He thought the lemon flavor was really strong but was not disappointed in that. The texture of the custard was perfect. Daddy even went back for seconds! He said to give this pie glowing reviews! I enjoyed the pie, too. Lemon is one of those completely refreshing flavors that I just love.
  Honestly, this is probably the first recipe that I've made as a Daring Baker that I would say I'd like to make again. Thanks for choosing this recipe,
  Lemon Meringue Pie (from "Wanda's Pie in the Sky" by Wanda Beaver)