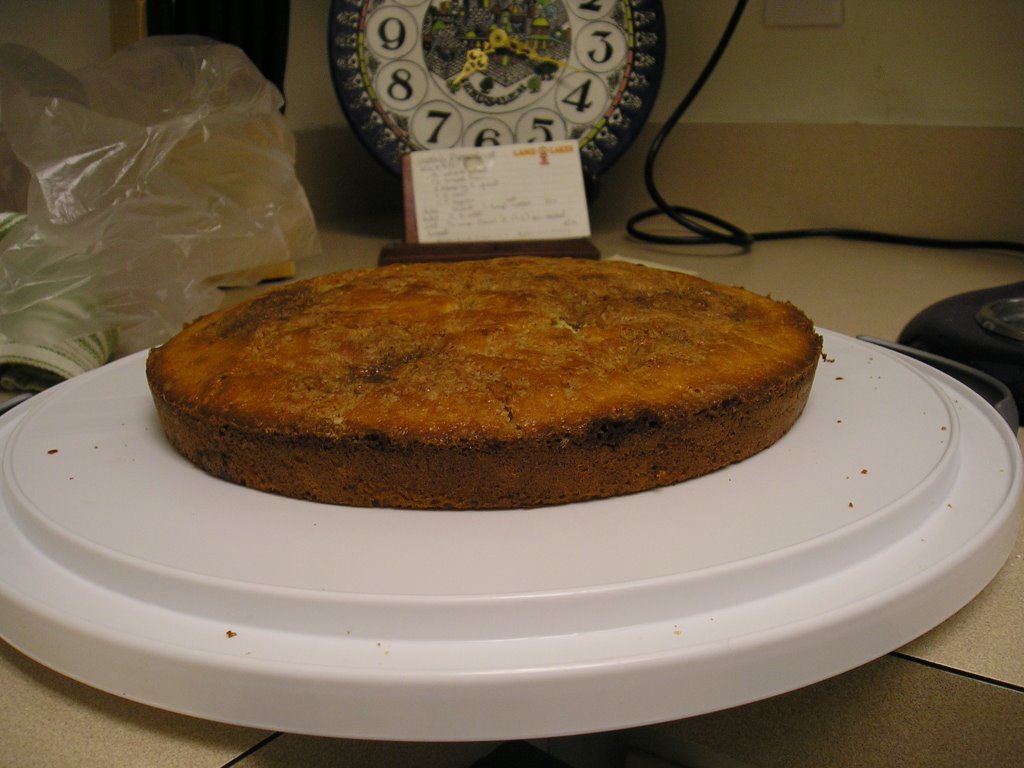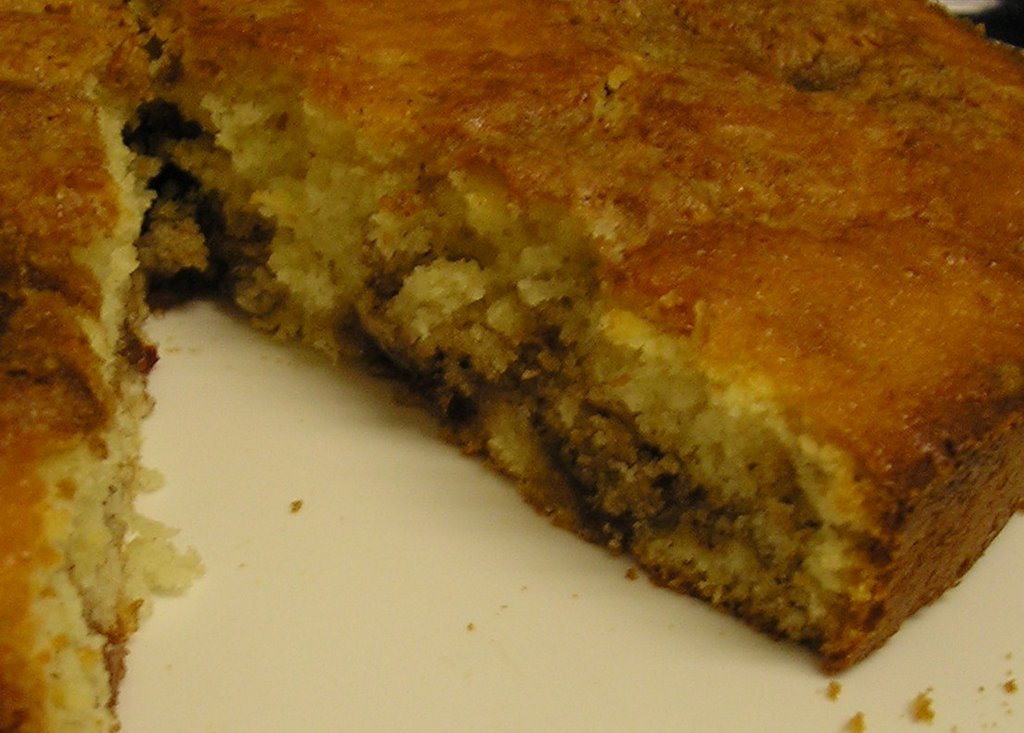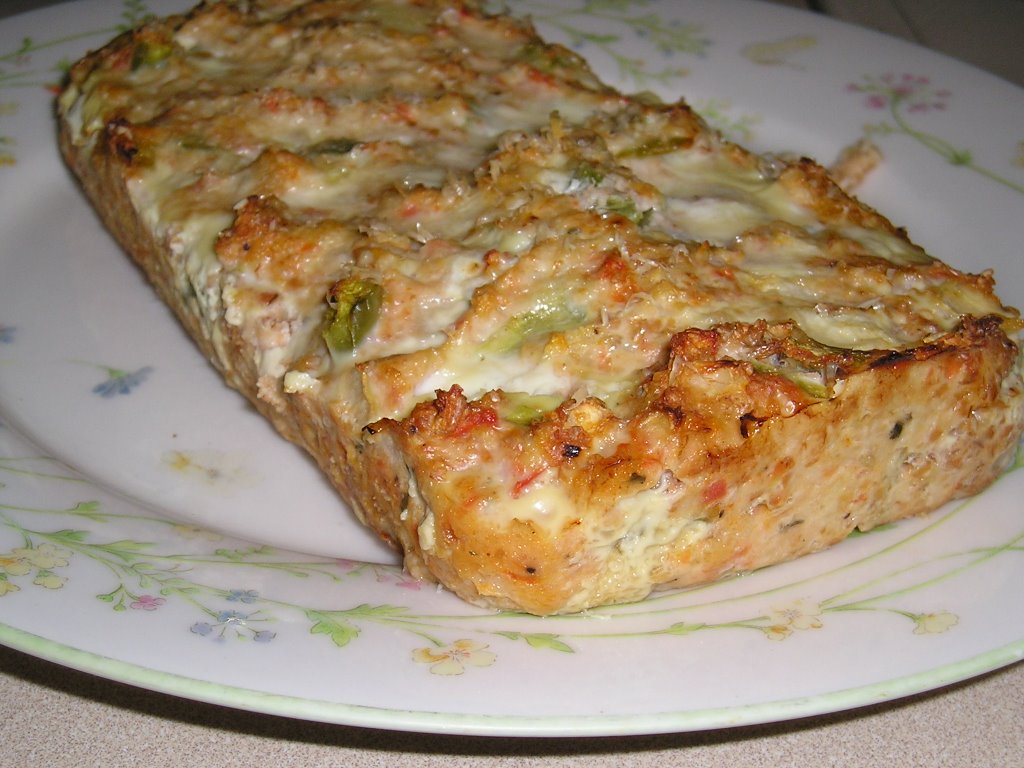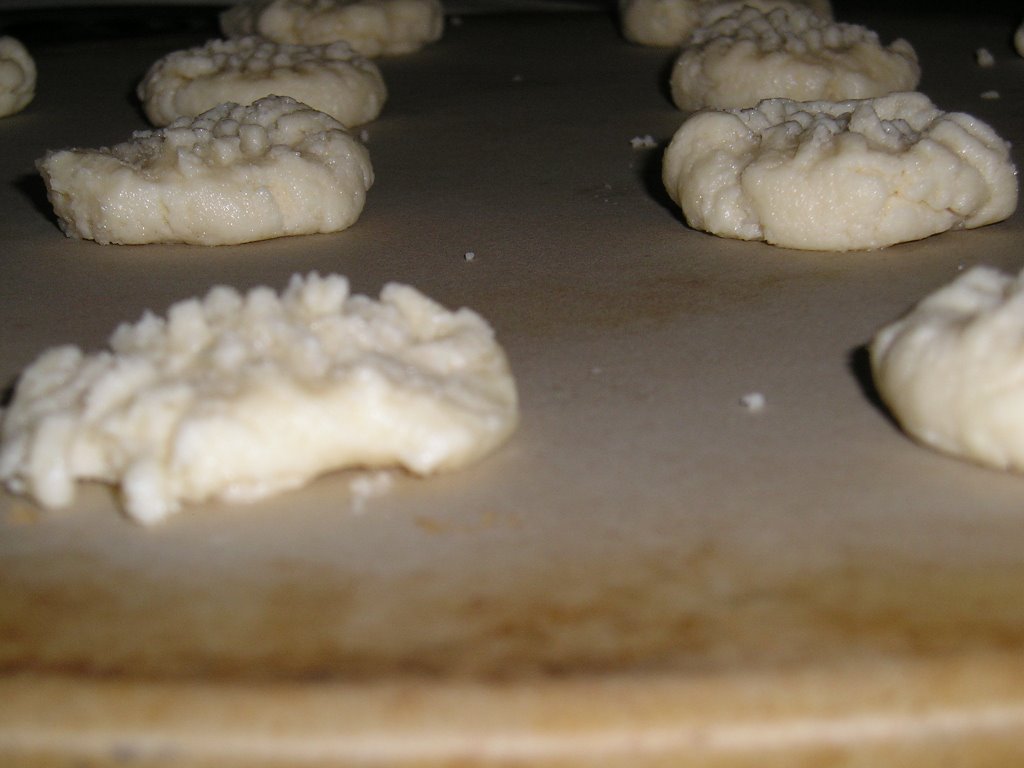
Monday, November 13, 2006

A Bushel of Fun...and Apples

WOW, last post was my 100th post! I didn't realize it until I switched to Beta! Thanks for all of you who have joined in and have commented! It's really an encouragement to me and makes me want to keep trying new things. Now on to the recipe!
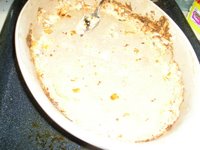
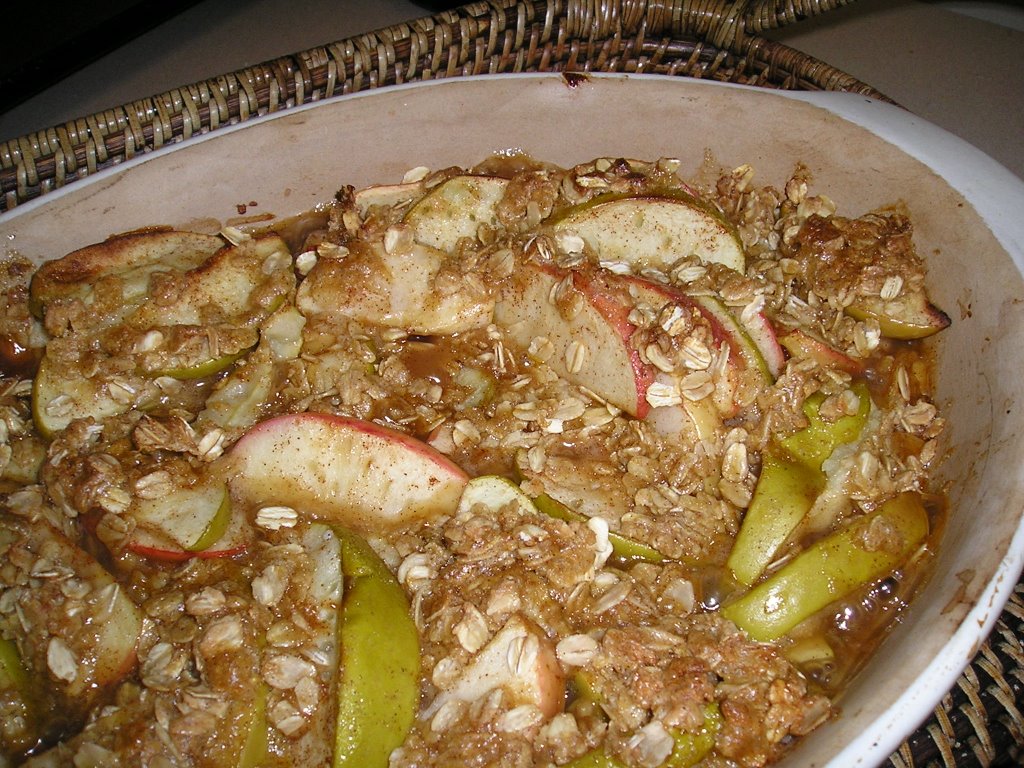
Okay, so I didn't really have a bushel of apples, but I did have a Sunday School fellowship last night and the girls were responsible for desserts. Normally I would just make a cookie or cake, but this time I decided to make an apple crisp. This recipe is from the Quaker Oats site. When I pulled it out of the oven, I was in LOVE with the smell. It was so cinnamony and just like a fall dessert should smell! It taste just as good, although I think it was just a tad too sweet. The recipe below is with the changes that I made. I think next time, I might decrease the sugar in both the topping and the filling. If you want a good smell in your house and a dessert that's not so bad for you, it's made from fruit isn't it, try this one out! With the apples in this recipe, it is my entry for Sweetnick's ARF-Five-A-Day Tuesday. Check out all the other recipes and pick one out to try for yourself.

Autumn Apple Crisp
4 cups peeled, cored and thinly sliced baking apples (I used 2 small gala apples and 2 large Granny Smith. As you can tell, I didn't peel them. To core, but in quarters then cut out the core on a slant. This is super easy to do)
2 T lemon juice
1/4 cup granulated sugar (I used Splenda)
1 tablespoon cornstarch
1 teaspoon vanilla
1 teaspoon ground cinnamon, divided
1/2 cup firmly packed brown sugar
1/4 cup all-purpose flour
4 tablespoons (1/2 stick) margarine
1/2 cup Quaker® Oats (quick or old fashioned, uncooked)

Heat oven to 400°F. Lightly grease 2-quart baking dish.
In large bowl, combine apples and lemon juice. Stir in granulated sugar, cornstarch, vanilla and 1/2 teaspoon cinnamon; toss to coat. Spoon mixture into baking dish.
In medium bowl, combine brown sugar, flour and remaining cinnamon; mix well. Cut in margarine with pastry blender or two knives until mixture resembles coarse crumbs; stir in oats. Sprinkle over apple mixture.
Bake 25 to 30 minutes or until topping is golden brown and apples are tender. Serve warm or at room temperature.

Saturday, November 11, 2006

Melt in Your Mouth


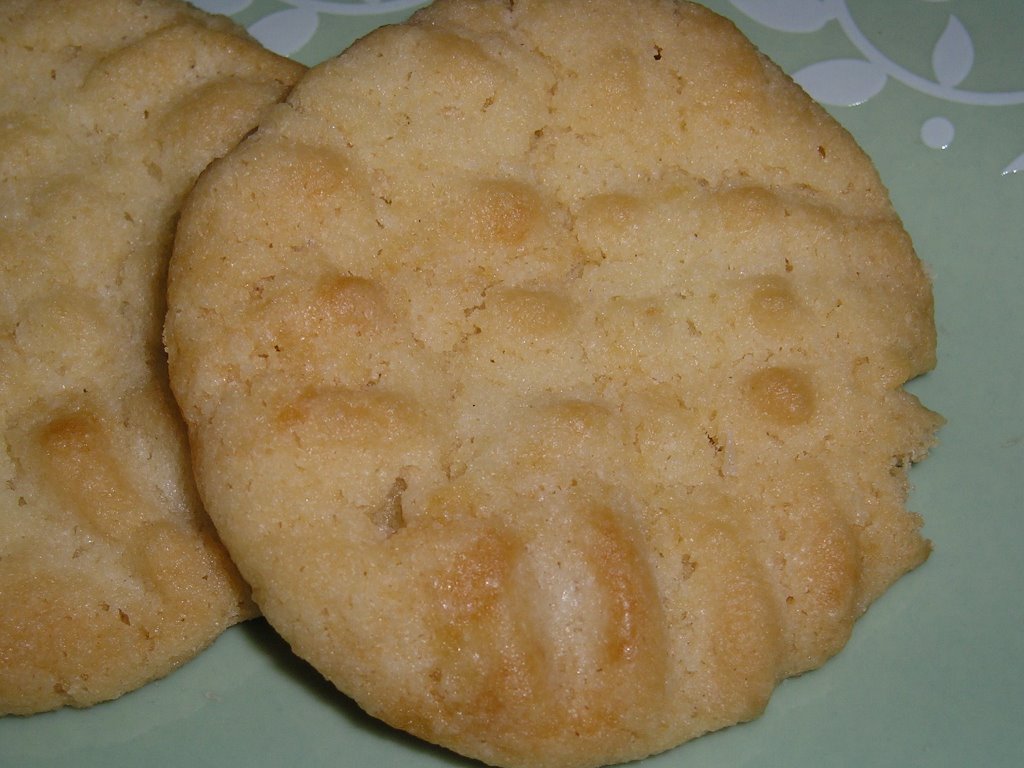
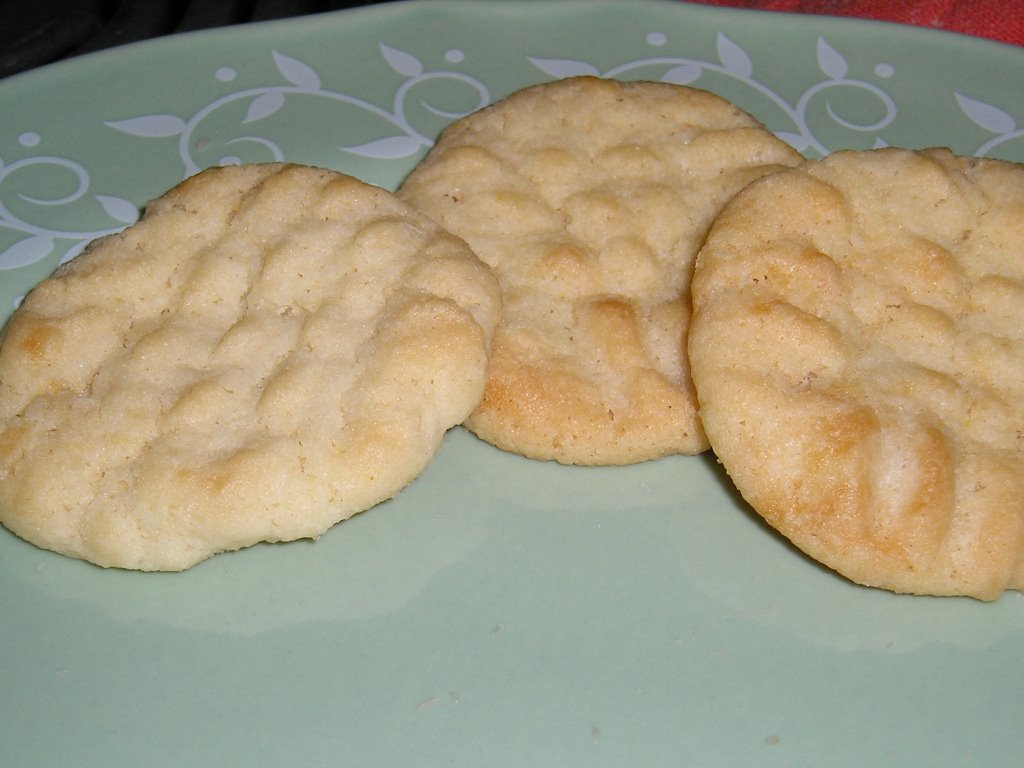
For some reason these cookies make me think of Christmas. I don't know why because there is nothing "Christmas-y" about them. Maybe it's because they are a sugar cookies. They just have more of a crisp but melty texture. I decided to make them last night and take them to the press box for the last football game. I've been calling the tackles all season for the home games of my Alma Mater, Mississippi College. When the game was over, one the, this is said with all respect, "pressbox rats" (a college administrator who probably shouldn't be in there officially but we traditionally let just about anyone in there, we're only D-2) asked why I hadn't been bringing cookies all season! There were no cookies left and this makes a LOT of cookies. I think they were a success!

Melt Aways
1 cup butter I used 1/2 cup butter and 1/2 cup margarine
1 cup confectioner's sugar
1 cup sugar
1 cup oil
4 cups sifted flour
1 teaspoon cream of tartar
1 teaspoon baking soda
1/2 teaspoon salt
2 teaspoons vanilla (!)

Beat butter until creamy. Gradually add sugars. Add oil gradually. Beat until light yellow and fluffy. Add dry ingredients and vanilla. Chill 1 hour. Roll into 1 inch balls. Place on sheet and flatten with fork. Bake at 375 degrees F for 10-12 minutes.
Friday, November 10, 2006

Easy as Pie...but not!


As I mentioned last night, we had friends over for dinner and I made tilapia. Although I don't have pictures of them, I'm going to give the recipe for the potatoes we had as well. The recipe is from In Good Company, a cookbook from the junior league of Lynchburg. Tilapia is one of my favorite fish and it is so easy that ANYONE can do it! So, here goes!

Mustard Roasted Potatoes
6 medium sized red potatoes, cut into chunks
1/3 cup spicy mustard (I used yellow because that's all I had)
1 garlic clove, minced
2 T olive oil (I used less)
1/2 tsp Italian seasoning (I used parsley and oregano b/c I didn't have Italian seasoning)
Grated Parmesan cheese

Preheat oven to 425 degrees F. Combine mustard, olive oil, garlic, and Italian seasoning in a bowl and mix well. Place the potatoes in a large bowl. Add the mustard mixture. Cover the bowl with plastic wrap and shake the bowl gently to evenly coat the potatoes with the mustard mixture (I just stirred it!). Arrange the potatoes in an even layer on a lightly greased baking sheet. Bake for 30-35 minutes (mine took about 40) or until the potatoes are tender. Put in a serving dish and sprinkle with Parmesan.

Tilapia
Fresh tilapia filets (you could probably do with frozen as well, just thaw)
desired seasonings: I use garlic powder, Tony's or Natures seasoning, and Parsley

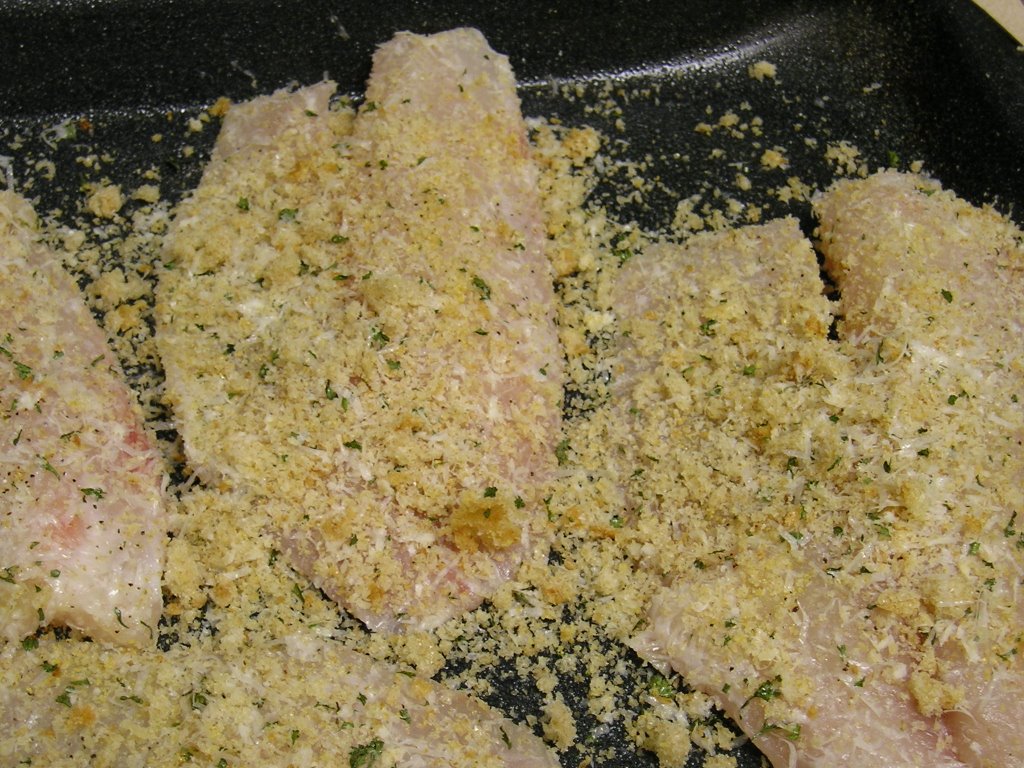
Preheat the oven to 425. Season both sides of the fish with the seasonings. Spray a broiling pan or glass dish and place the fish on the pan. Bake for 12 minutes (this is the perfect time!). Remove and sprinkle with fresh parmesan if desired. Enjoy!

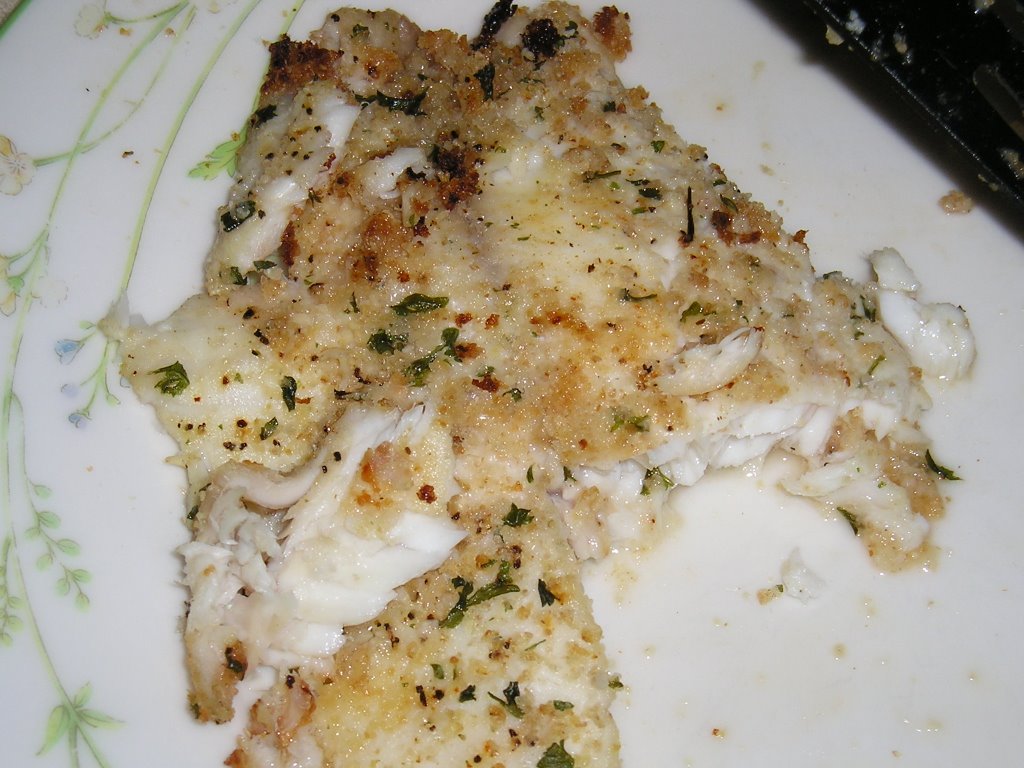
*This last time I tried to do a breaded form with fresh bread crumbs, parsley, and Parmesan. I don't think I really liked it that much. I'll probably stick to the original form from now on! If tomatoes are in season, they are really good spread over the fish before baking but canned tomatoes don't work.

Thursday, November 09, 2006

Dinner with Friends

Just a quick update tonight...recipes in later posts. We had friends over tonight for dinner. It was M's birthday a couple of weeks ago, but I was visiting my parents. So, J and M came over tonight. I made baked tilapia, probably my favorite, with a new roasted potato recipe, fresh baked bread, and squash. It was a really nice meal. Then roomie made a chocolate oreo pudding dessert. We had a nice visit and break from studying. If you had been a fly on the wall you would probably wonder how some of our conversations started! Anyway, I'll be back tomorrow with a recipe and pictures. For now, I'm going to bed! Tomorrow I have class and a meeting with my preceptor so that I can start learning how to be a doctor! :-)

Monday, November 06, 2006

Mexican Baked Fritatta


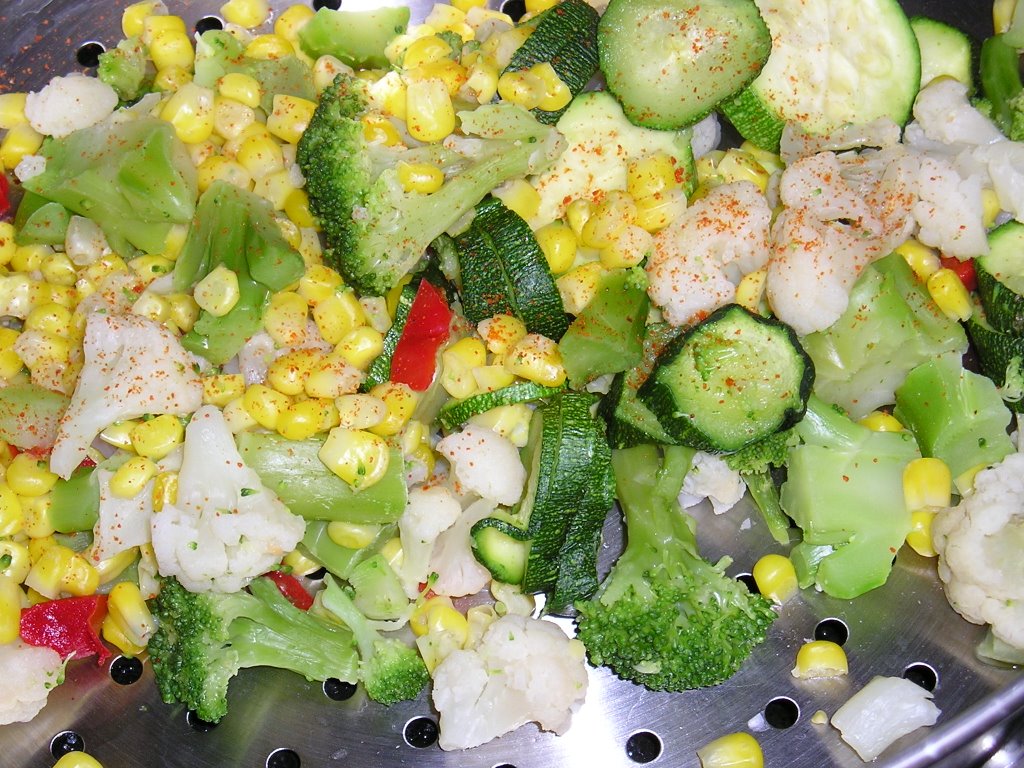
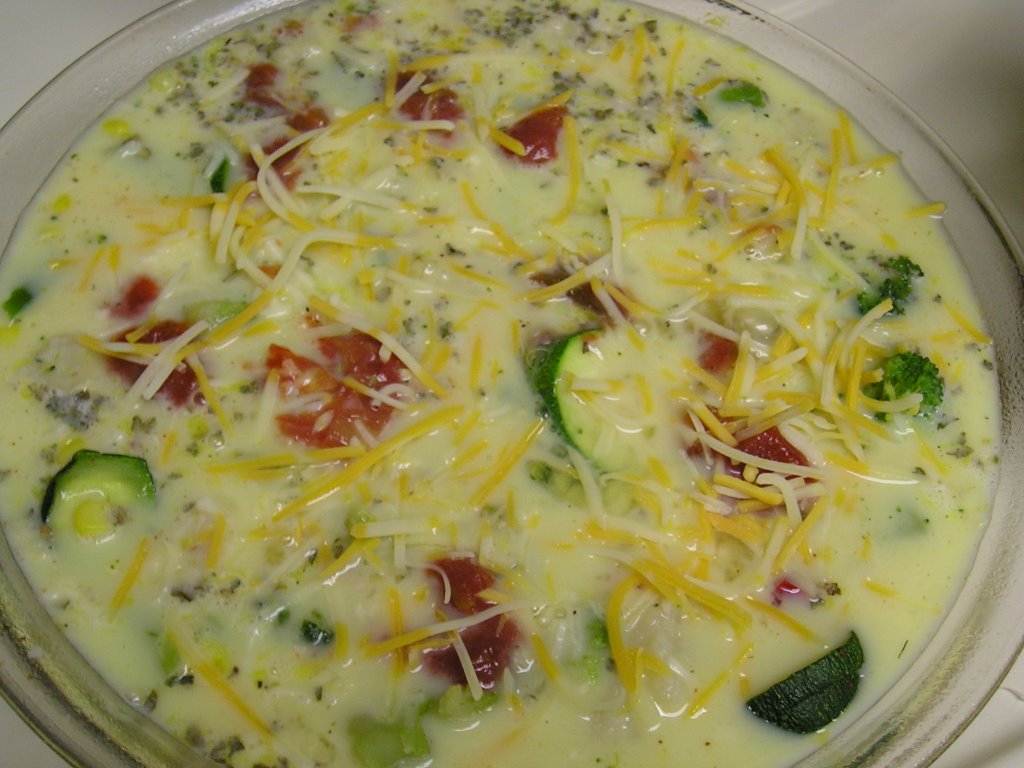
One of my favorite summer meals is a garden fritatta. It has summer squash, zucchini, onions, and tomato baked in eggs with some mozzarella cheese and feta. It is YUMMY! However, right now, squashed as quite expensive, but I was in the mood for fritatta. Since my diet has consisted of soup and grits over the weekend due to a lovely, appetite suppressing cold, I figues I should come up with something that would fit the bill! I did have single TINY zucchini to use but needed more veggies to add. Open the freezer door and, tada, I see a bag of Mexican veggies. I wouldn't use this particular mix just to eat, so it was the perfect thing to use for the fritatta.

I wanted to use the right seasonings to make it Mexican. My original recipe uses more Italian type seasonings. So, I decided to use some cumin and red pepper. However, I wasn't sure of amounts and think that I could use more of both next time. Needless to say, it was still good. I would also use more salsa than I did. Because of all the wonderful veggies in this dish, it is my addition to Sweetnicks ARF Five-A-Day Tuesday. Check out her blog Tuesday for the other wonderful entries!

Baked Mexican Fritatta
1 small zucchini
1 bag Mexican style veggie Mine contained corn, red pepper, broccoli, and cauliflower. I still have some corn left over but used all of the broccoli and cauliflower.
4 eggs I actually used 3 eggs and 3 T egg substitute (trying to use it up)
1 cup milk
1 clove garlic, minced
onion flakes, sprinkle
red pepper, oregano, cumin, Nature's Seasoning "to taste" Sorry I don't have measurements, I just put some in until it "looked right!" Trust your cooking instinct!
1 cup Monterey Jack cheese or marbled cheese I didn't use this much cheese, probably more like 1/2 - 2/3 cup
salsa

Preheat oven to 350 degrees F. Cook veggies in a microwave safe container, covered but not sealed, for 8-10 minutes or until tender. Drain veggies. Whisk together eggs, milk, garlic, onion flakes, and seasonings. In a pie pan sprayed with cooking spray, put cooked veggies. Sprinkle with cheese (reserve a little for the top). Top with salsa. Pour egg mixture over this. Sprinkle with reserved cheese for a little color. Bake for 50 minutes. Remove and allow to cool for 5-10 minutes.

Friday, November 03, 2006

"Cup"cake Walk


My church has a Harvest Carnival every year on halloween. This year, they asked people to make cookies, brownies, or cupcakes for the cake walk. Well, I have been really wanting to make cupcakes but didn't know what to do with them, so this was the perfect opportunity to satisfy my craving. I don't know that I've ever made homemade cupcakes and wanted to do that, not that any kid would really care! So, I went in search of a non-chocolate cupcake. I decided that I probably shouldn't do anything with peanuts in it because of allergies. Pretty soon I found the perfect simple recipe from Sara Moulton on the Food Network site. I decided not to do the homemade icing, opting for a simple vanilla from the store topped with a couple of caramel-chocolate swirl chips. This cupcake has a nice vanilla taste (I made mini cupcake to taste) but I'm not sure of the true texture. They looked good to me! If you want to use the icing originally with the cupcakes, click on the link to Sara Moulton. It's buttercream type icing.

Magnolia's Vanilla Cupcakes
1 1/2 cups self-rising flour
1 1/4 cups all-purpose flour
1 cup (2 sticks) unsalted butter, softened
2 cups sugar
4 large eggs, at room temperature
1 cup milk
1 teaspoon vanilla extract

Icing: Vanilla Buttercream, recipe follows (I used store bought)

Preheat oven to 350 degrees F.

Line 2 (1/2 cup-12 capacity) muffin tins with cupcake papers.
In a small bowl, combine the flours. Set aside.
In a large bowl, on the medium speed of an electric mixer, cream the butter until smooth. Add the sugar gradually and beat until fluffy, about 3 minutes. Add the eggs, 1 at a time, beating well after each addition. Add the dry ingredients in 3 parts, alternating with the milk and vanilla. With each addition, beat until the ingredients are incorporated but do not over beat. Using a rubber spatula, scrape down the batter in the bowl to make sure the ingredients are well blended. Carefully spoon the batter into the cupcake liners, filling them about 3/4 full. Bake for 20 to 25 minutes, or until a cake tester inserted into the center of the cupcake comes out clean.
Cool the cupcakes in tins for 15 minutes. Remove from the tins and cool completely on a wire rack before icing.

Yield: enough for 2 dozen cupcakes or 1 (9-inch) layer cake

If you would like to make a layer cake instead of cupcakes, divide the batter between 2 (9-inch) round cake pans and bake the layers for 30 to 40 minutes.

9 Weird Things meme

I have been tagged for a meme by Gail at Hambones. I'm doing this during class...so a recipe post will come later today! Okay, the meme is 9 weird things about me. Here goes...

1. The middle toe on my right food is smaller than all the others...it looks like it only has one joint. Okay, looks weirder than it sounds!

2. I (like Gail) like soggy cereal.
3. I'm from the south but HATE sweet tea!
4. I DESPISE stink bugs but they seem to like me...I've been ATTACKED while picking blueberries!
5. I'm a Cubs fan...if you know baseball, you know that's wierd...especially since I don't live in Chicago!
6. When I was little, I liked to mush up cake and mix it together with the ice cream. Mama told me it was gross and tried to stop me...I usually figured out a way to do it anyway.
7. I think that almond extract is gross but love almonds.
8. I can't snap my fingers or whistle. Well, I can whistle one note but that's all!
9. Raw pork (especially loin cut) grosses me out, yet I'm going to be a doctor! Beleive it or not, doctors do get grossed out, they just learn to hide it well.

I tag Erika, VeuveClicquot, and Peabody. If anyone else wants to participate, feel free! If I tagged you and you can't or don't want to do this, no pressure! Also, feel free to make it as "foodie" or not as you want.

Tuesday, October 31, 2006

How Could I Not?!


So, it's halloween today. We went around the children's hospital at lunch and passed out candy to the kids getting transfusions for sickle cell, bone marrow transplants, and those in clinic. It was fun!

Several weeks ago I made some pumpkin muffins. Then I made another recipe. One will appear today and the other coming soon, but how could I not do a post with pumpkin on halloween? I this recipe I decided to add some blueberries. I think that was a bad idea as the muffins went rancid fairly quickly; only the areas around the berries were gross. Maybe next time I"ll try dried berries. These were pretty good, nice and moist. Check out the other ARF entries at Sweetnicks ARF-5-A-Day!

Blueberry Pumpkin Muffins
1 cup all-purpose flour (about 4 1/2 ounces)
1/2 cup whole wheat flour (about 2 1/2 ounces)
1/2 cup granulated sugar
1/2 cup packed brown sugar
1 1/4 teaspoons pumpkin-pie spice
1 teaspoon baking soda
1/4 teaspoon baking powder
1/4 teaspoon salt
1 cup canned pumpkin
1/2 cup fat-free buttermilk
1/2 cup egg substitute
1/4 cup canola oil
1/4 cup applesauce
Cooking spray

Preheat oven to 375°.
Lightly spoon flours into dry measuring cups; level with a knife. Combine flours, granulated sugar, and next 5 ingredients (through salt) in a large bowl, stirring with a whisk.

Combine pumpkin and the next 4 ingredients (through applesauce) in a medium bowl, stirring with a whisk. Add pumpkin mixture to flour mixture, stirring just until moist. Spoon batter into 16 muffin cups coated with cooking spray. Bake at 375° for 20 minutes or until muffins spring back when touched lightly in center. Cool muffins in pans 5 minutes on a wire rack; remove from pans. Cool completely on a wire rack.

Yield: 16 servings (serving size: 1 muffin)

NUTRITION PER SERVINGCALORIES 145(28% from fat); FAT 4.6g (sat 0.5g,mono 2.3g,poly 1.6g); PROTEIN 2.6g; CHOLESTEROL 0.0mg; CALCIUM 33mg; SODIUM 149mg; FIBER 1.2g; IRON 1.1mg; CARBOHYDRATE 24.1g

Sunday, October 29, 2006

Peeling it apart


Well, when I got home Friday I knew that I was going to be making chili, gumbo, and cookies (for Daddy!) but I discovered frozen bananas awaiting my use! I also got to make sandwich bread!!! We are making the gumbo and freezing it for the Friday aften Thanksgiving when we have lots of family around. it's a low-fat version that is delicious. I'll post it later.

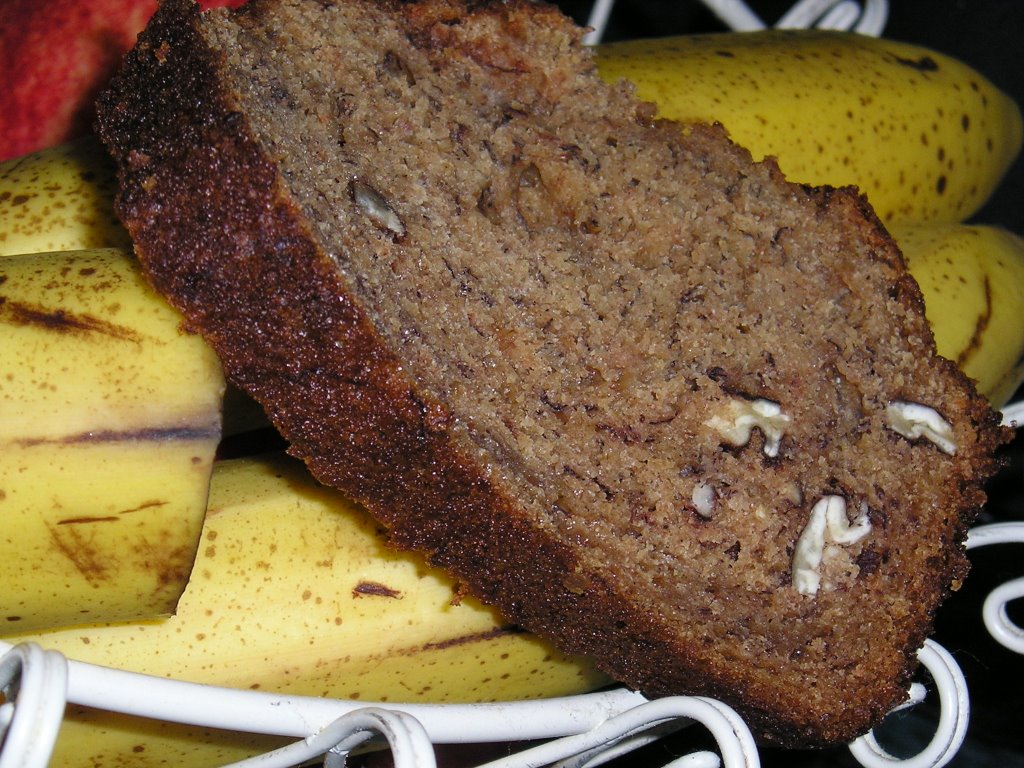
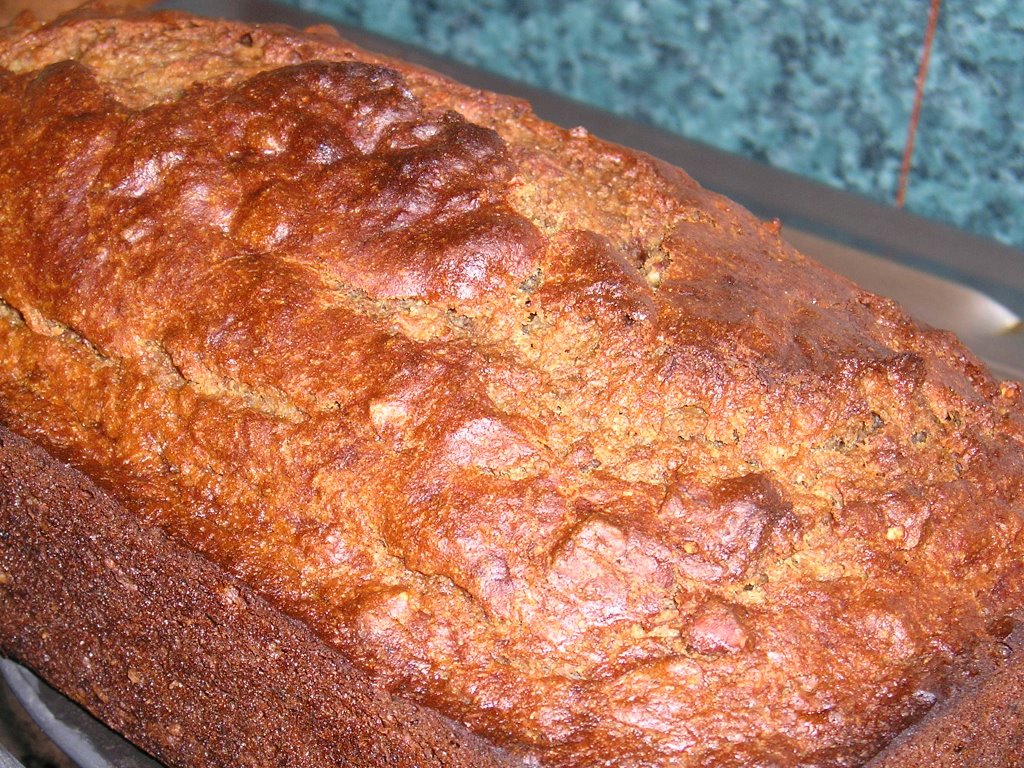
I decided that I wanted to try a new recipe as I've had trouble with my usual recipe not cooking in the middle (unless I use wheat germ and Mama doesn't keep that on hand!). So, I went through all our recipe books trying to find one that wasn't too sugary or buttery! The one I ended up using is from Tea Time at the Masters. It's made by the Junior Civic League of Augusta. It uses brown sugar, which I'm sure adds to the moisture. It also adds the banana and flour in alternate additions. I was trying to figure out why this makes a difference and my dad decided that it provides a better distribution of ingredients without over-mixing. Who knows!

Daddy said that he likes this recipe better than the usual one. I think it's because of the brown sugar (and probably a bit because of the tad bit more fat!). I also put a good bit of nuts in it, which he likes. Overall, this is a great recipe but I did make one slight modification.

Whole wheat banana bread
1/2 cup butter I used probably 1/3 cup margarine
3/4 cup brown sugar
1 egg
1 cup whole wheat flour
1/2 cup white flour
1 teaspoon baking soda
1/2 teaspoon salt
1/2 teaspoon cinnamon
1 1/4 mashed ripe bananas (I used 3)
1/4 cup buttermilk or plain yogurt
1 cup pecans, chopped

Cream butter and sugar. Add egg. Sift dry ingredients together. Combine bananas and buttermilk/yogurt, stirring just enough to mix. Add dry ingredients alternately with banana mixture. I did it in thirds starting with banana and ending with flour. Stir in nuts. Pour into greased 9X5 loaf pan. Bake at 350 for 50-60 minutes or until toothpick inserted in middle comes out clean. Cool 10 minutes. Remove from pan to cooling rack. This works well toasted!

Saturday, October 28, 2006

Three Great Tastes modified


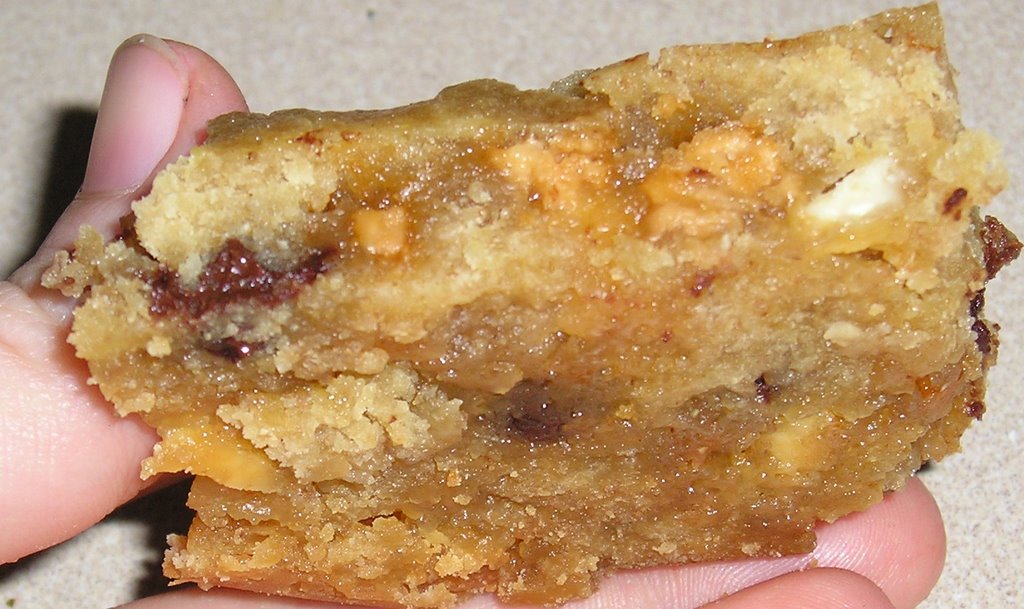
I have been studying for the past week and a little more...I feel like that's all I've done. However, I get itchy to cook when all I do is study...more specifically bake. So, on Thursday when I didn't have a test or class, it was a study day, I took 10 minutes off to make some bar cookies. I had about half a bag of butterscotch morsels and decided that these blondies would be perfect! However, after looking at the recipe, I came to the conclusion that there was too much sugar and butter...thus, the modification.

I think that it came out just fine and will use this form again. The top of the bars are probably not a crispy and pretty as they would be with the original recipe, that's a side effect of the applesauce, but they don't taste like the top looks! AND the inside is just perfect! Feel free to play around with the chip flavors that you use. I've done it as written and with butterscotch instead of peanut butter, as I did here. Both are delicious.

Three Great Tastes Blondies
The original recipe is here, my changes are in red.

2 cups packed light brown sugar (I used 1 1/2 cups...I mean, there are 2 cups of sweet morsels in here, I don't think you need 2 cups of sugar!)
1 cup (2 sticks) butter or margarine, melted (I used 1/2 cup melted margarine and about 1/2 cup unsweetened applesauce (one individual cup pack))
2 eggs
2 teaspoons vanilla extract
2 cups all-purpose flour (I used 1 1/2 cups AP flour and 1/2 cup whole wheat flour)
1 teaspoon salt
2/3 cup (of each) HERSHEY'S Semi-Sweet Chocolate Chips, REESE'S Peanut Butter Chips, and HERSHEY'S Premier White Chips (This time I used chocolate, butterscotch, and white chocolate)

CHOCOLATE CHIP DRIZZLE(recipe follows) (I've never used this, too much trouble!) :-)

Directions:
1. Heat oven to 350°F. Grease 15-1/2x10-1/2x1-inch jelly-roll pan. (I used a 13X9 pan)
2. Stir together brown sugar and butter in large bowl; beat in eggs and vanilla until smooth. Add flour and salt, beating just until blended; stir in chocolate, peanut butter and white chips. Spread batter into prepared pan.
3. Bake 25 to 30 minutes or until wooden pick inserted in center comes out clean. Cool completely; cut into bars. With tines of fork, drizzle CHOCOLATE CHIP DRIZZLE randomly over bars.
About 6 dozen bars.

CHOCOLATE CHIP DRIZZLE: Place 1/4 cup HERSHEY'S Semi-Sweet Chocolate Chips and 1/4 teaspoon shortening (do not use butter, margarine, spread or oil) in small microwave-safe bowl. Microwave at HIGH (100%) 30 seconds to 1 minute; stir until chips are melted and mixture is smooth.

Tuesday, October 24, 2006

Shoes, Studies, and Soup


This whole week is full of stress for me, though I try not to make it evident! We have tests all week long. I've already taken two (and felt stupid) and have four more to go. Sunday when I was studying I had Josh Groban playing in the background. The song that got stuck in my head was an Italian song. Although I have sung Italian, I don't understand it. Anyway, I was walking upstairs after getting some water and realized that I was singing this Italian song...however, the words I was singing were not Italian...they were drug names! "Trastuzumab..." THAT is how you know you've been studying a long time!

In addition, my feet have been torn up by shoes in the past week. One day I had to wear shoes that I KNOW give me blisters because the other closed toed shoes (requirement for lab) were wet from rain. So, I have blisters from that. THEN I decided to break out some new NB slip on shoes. Well, they have given me blisters on the top of my feet. SO, for anyone out there with new shoes...use prophylactic band-aids (for prevention of blisters)!

Now to the soup. Last Monday it was dark, rainy, and blah! The perfect weather for soup. So, I pulled out some veggies and used this recipe to make some soup. I changed it a little because I didn't have the dressing mix but it turned out great! I've eaten on it all week. Next time I might do a little less water or add some more tomatoes, maybe even Rotel, that would be really good! Because of all the wonderful veggies, this is my entry for Sweetnicks ARF/5-A-Day round up. Be sure to check out the other entries!

Cabbage Vegetable Soup

4 cups chopped green cabbage (1/2 of a small head)
2 medium carrots, sliced (I used about 20 baby carrots, chopped. Just guess-timate)
2 medium celery stalks, sliced
1 medium onion, chopped
1 pkg. (10 oz.) frozen green beans, thawed slightly
1 can (15-1/2 oz.) cannellini beans, drained, rinsed
6 cups water
2 cans (14-1/2 oz. each) chicken broth
2 cups canned crushed tomatoes, undrained (I used one can of stewed tomatoes b/c that's what I had. I'd use more next time)
1 env. GOOD SEASONS Italian Salad Dressing & Recipe Mix (Just made up a combination of Season All, oregano, basil, and Natures Seasoning and taste as I went.)

PLACE all ingredients in 6- or 8-qt. stockpot. BRING to boil on high heat. Reduce heat to medium-low. SIMMER 30 min. or until vegetables are tender. Serve with crackers, grilled cheese, or salad. Top with Parmesan cheese and enjoy!

Monday, October 23, 2006

Cheese, cheese, good for the heart...maybe only in small amounts!


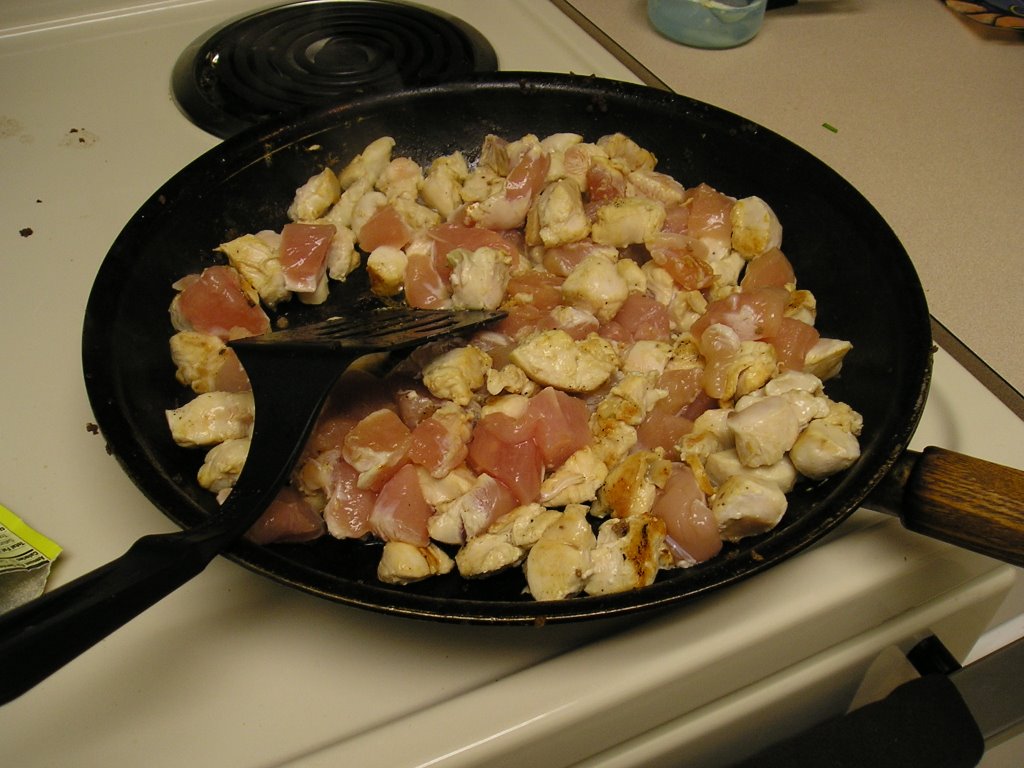
As I mentioned in my last post, my roomie and I threw a surprise party last week. It was a lot of fun and we will be doing get togethers more often. Because we got the b-day boy here by inviting him to "dinner," we asked him what he wanted. Being the flexible guy (Hint: if someone asks you what you want and you have a preference, let them know!) he is, he said he didn't care...anything we make will be better than what he would have at his house. So, I pinned him down to a category...Mexican, Italian, American...He chose Mexican. So we decided to do tacos. We did beef and chicken. I had never had chicken with taco seasoning on it, but it was SO good! I highly recommend it!

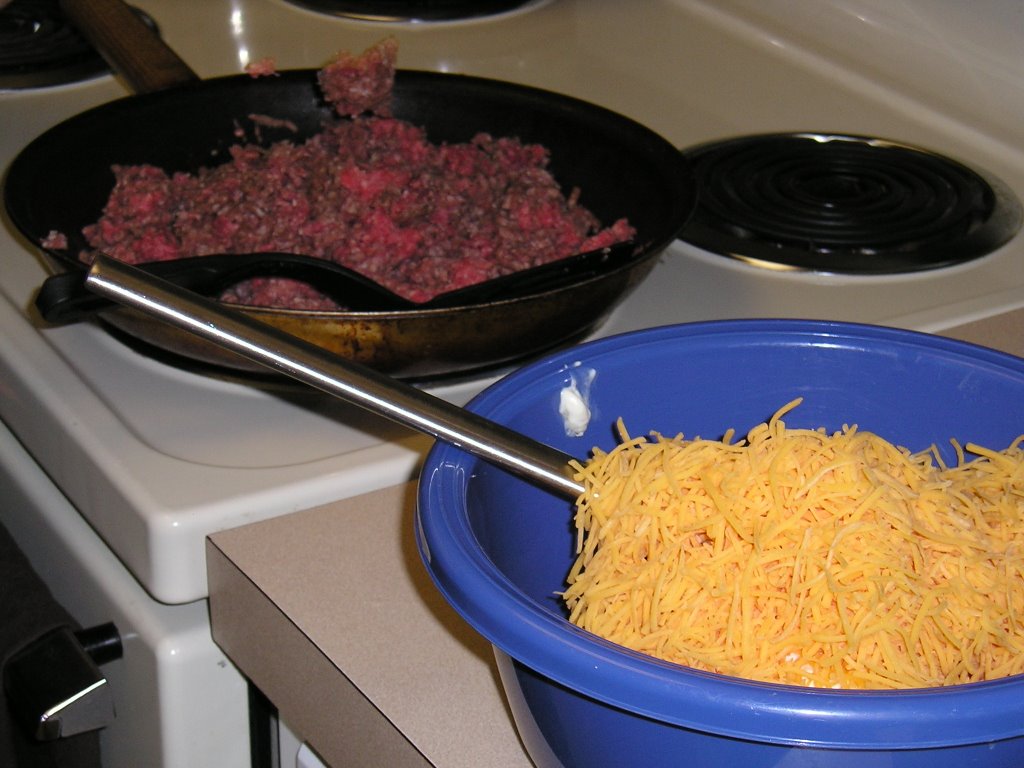
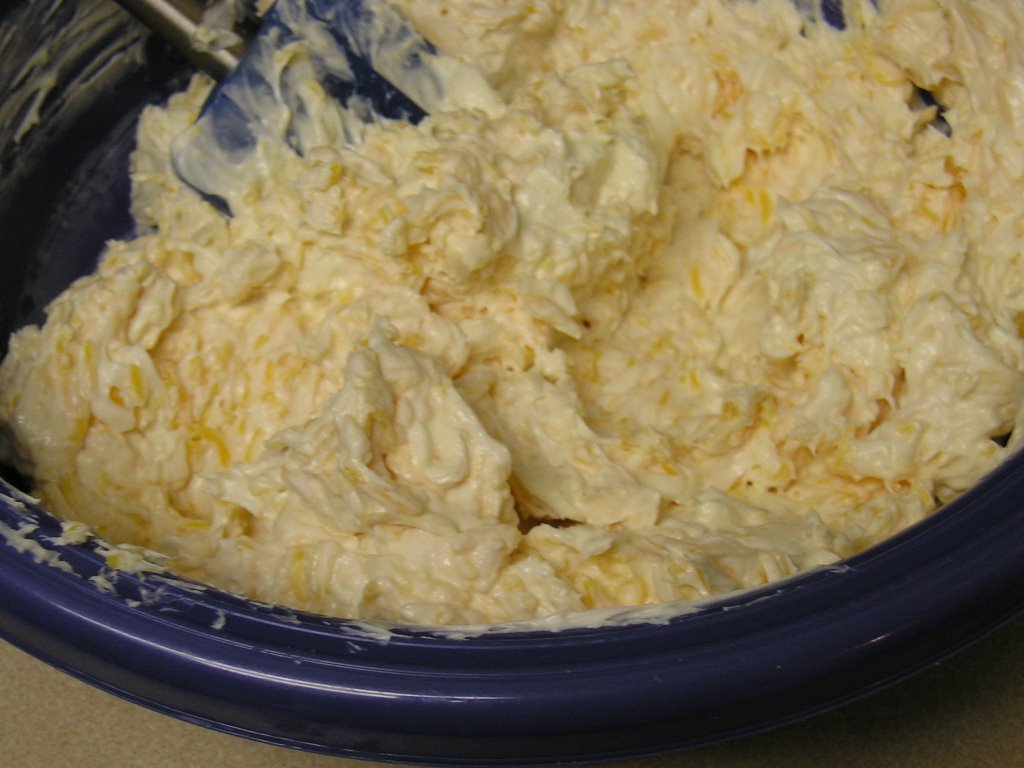
Now on to the cheese dip. When asking what he wanted for dinner, I discovered that J's "favorite food" is cheese. So, I figured that this dip would be the perfect thing to make. I had to e-mail my mom to get the recipe. It's from a lady at our church who would always bring it to the VBS teachers' snack room. As you can imagine, it was gone fairly quickly unless of course people were on diets! :-) Mama warned me, and I will warn you, that just looking at the recipe may give you a heart attack! That is why this is ONLY for special occasions when there will be MANY people to sample the goods! I'll have to poast again tomorrow because I don't think that this will work for Sweetnick's ARF Tuesday post!!!

Amy's Cheese Dip
2 8 oz. cream cheese*
2 cups grated cheddar cheese
3 green onions, chopped
1/2 cup mayonnaise *

Mix and put in 8 X 12 baking dish (surely 9 X 13 will be OK, but watch so it doesn't burn)

Top with 1 cup crushed ritz crackers and 1 jar bacon pieces. (I didn't measure either of these but just covered the top. I KNOW that I did not use 1 cup bacon pieces!)

Bake @ 350 'til bubbly or 20 minutes

*EDIT: I didn't mention this, but I NEVER use full fat cream cheese. I usually use the 1/3 less fat stuff. Also, I usually use light mayo. This time, however, because roomie bought the groceries we have regular mayo (let me tell you, that stuff is nasty looking!). SO, I used one 1/3 less fat cream cheese and one fat free. There were no adverse side effects and I don't think anyone knew the difference!

Saturday, October 21, 2006

Party Pics

Here are some pictures from the party we had Thursday night. It was a surprise B-day party for a friend...I think I was a surprise!
We had LOTS of food. Most was brought by college students and recent graduates, so it was just chips and a veggie tray. But we made beef and chicken tacos, I made a cheese dip, and another friend made banana pudding. I'll give the recipe for the dip in another post...it is DEFINITELY a party food!
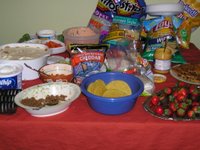
To get J. to go upstairs we asked him to turn down the thermostat...it worked! We had about 25 people is our little bitty apartment, but it was fun! The college students stayed til around 8:30, graduates stayed until 9:30, and the birthday boy and M stayed until about 11...that may have been too late for M!

This is roomie with J. This is me with J. What a fun night!

I hope we do more parties in the future. Remember to come back for the cheese dip recipe...as you can tell people enjoyed it!

Wednesday, October 18, 2006

Study Treats take 3


The M1's had tests this week, so last week I made them study treats. This time I decided to do something salty instead of sweet. So, I put together a trail mix. I knew that I didn't have enough stuff to do a traditional trail mix, so I put together my own version. I think it turned out just right. It's a little better for you than the other kind as well since I used canola oil instead of butter/margarine.

Tomorrow, my roomie and I have a get together with some friends, so look for pictures and food later on! Okay, I'm off to study parasympathomimetic drugs...doesn't that sound like fun?

Trail Mix
4 cups corn cereal
3 cups wheat cereal
1 cup almonds
1 1/2 cups wheat thins
1/3 cup canola oil
1 teaspoon garlic powder
1 1/2 teaspoons Nature's Seasoning
1 1/2 teaspoons Season All
Candy Corn

Preheat oven to 250 F. Stir together cereals, almonds, and wheat thins. In a separate bowl, stir together oil and seasonings through Season All*. Pour over cereal mixture and stir to cover. Place on a roasting pan and bake for about an hour, stirring every 15 minutes. Allow to cool for a bit. Add candy corn to the mix and enjoy!

*I didn't write down the seasoning measurements, but I'm pretty sure this is what I used! I know, I need better habits when making recipes.

Tuesday, October 17, 2006

Just a question and reminder


Just thought I'd remind you to stop by Sweetnicks for her ARF-Five-A-Day round-up. There promises to be many yummy and healthy recipes as there are two weeks of recipes in this group. I have submitted my pizza recipe.

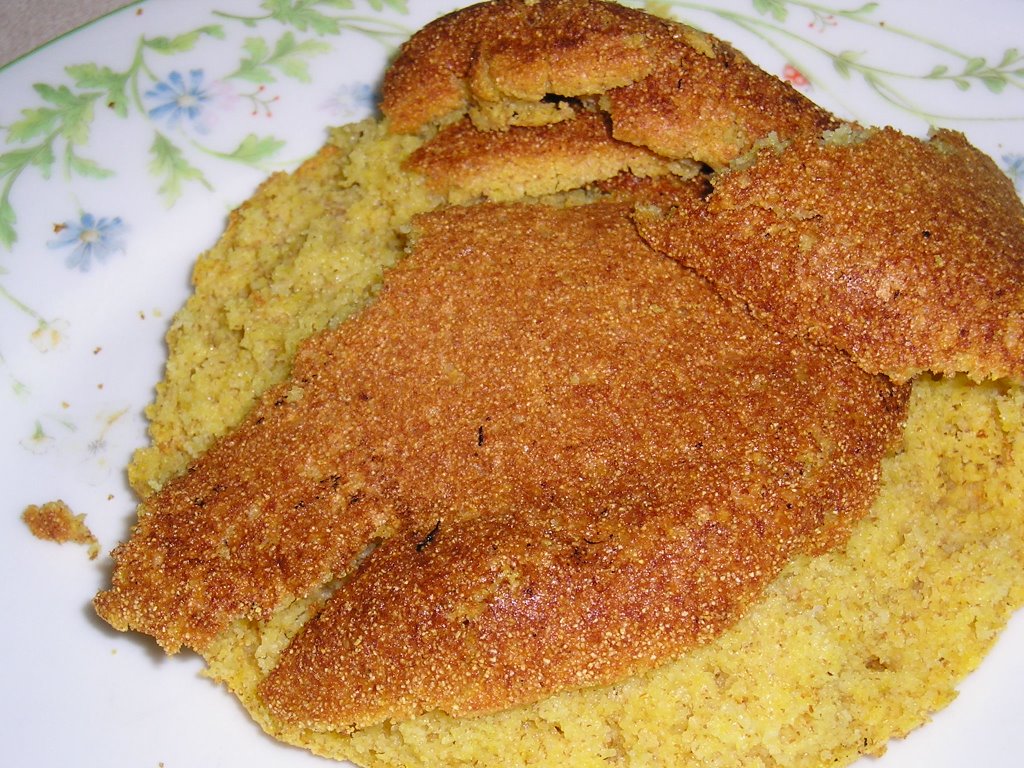
Now for my question. I made soup last night, which I will post about later, and thought that corn bread would be the perfect complement. I have used this recipe before and it turned out just fine. However, last night, despite using a seasoned cast iron skillet and shortening, the break stuck to the pan. I ended up with the crispy bottom pulling off the bread. The only change I made was to use 3/4 cup milk and 1/4 cup yogurt instead of 1 cup buttermilk because I had none. The texture was great but kind of pulled apart! Anyone have an idea as to why this happened?

Hope you are all having good weeks so far. Tomorrow is the middle of the week and for once I wish it was a longer week so I could study more! Oh, well!

Sunday, October 15, 2006

A Game of Chess.....Squares


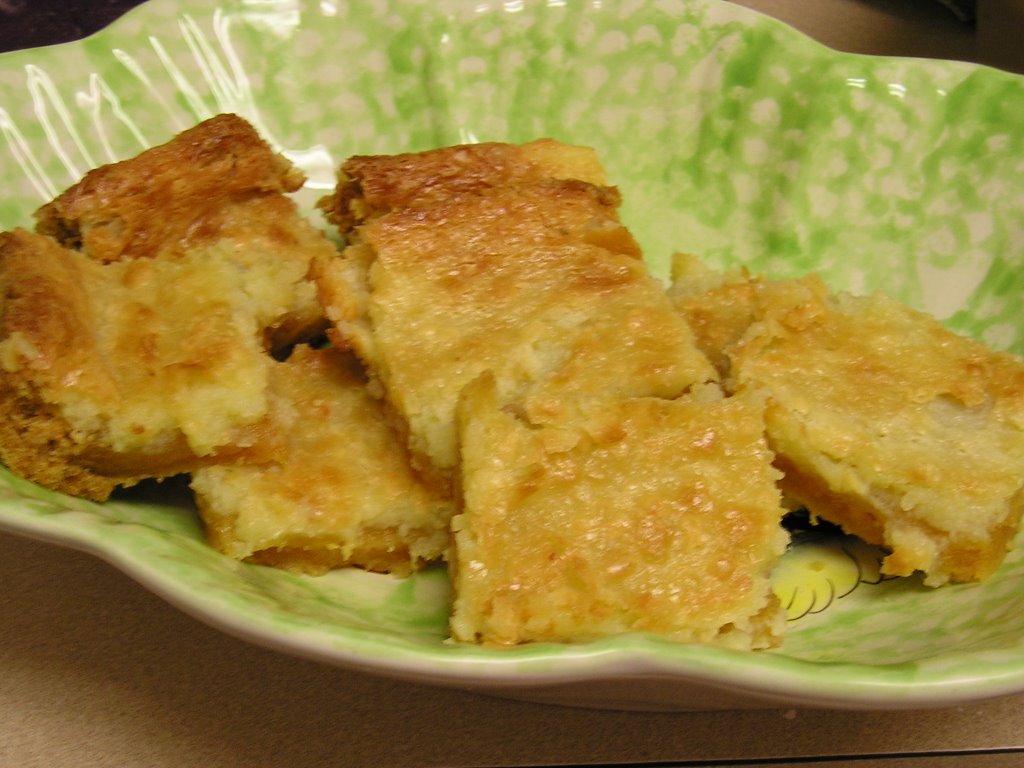
So...to go along with the pizza I wanted to make a dessert. Thought about brownies, but one of my friends isn't a huge chocolate fan. So, I decided to go with Easy Chess Squares. This is a recipe that came from my mom's recipe box. It really is quite easy and is delicious. I decided to add some lime zest to it for a little kick. I don't know how much of that you could taste, but I would recommend it. Everyone liked it and they guys left with little alumnium foil packets to take with them! Hopefully it supplied the glucose that their brains needed for studying!

Easy Chess Squares
1 box butter cake mix I used yellow because that's what I had!
1 stick margarine


Cut margarine into cake mix using pastry blender or two knives.

Pat mixture into a 13 X 9 pan.

Combine with mixer:
2 eggs
1 8 oz. softened cream cheese (I ALWAYS used 1/3 less fat, unless specified otherwise)
1 box confectioner's sugar
Add lime zest if you desire.

Spread on top of cake mixture. Bake at 350 F for 30 minutes. It should be a little browned on top but not solid in the center.

Allow to cool before serving. This would probably be good with different flavored cake mixes, although I've never tried others. I'll bet you could even add cocoa to the cream cheese mixture to make a choclate top if you wanted to. I, however, like the original with a little added zest! Enjoy!
Thursday, October 12, 2006

Pizza Time


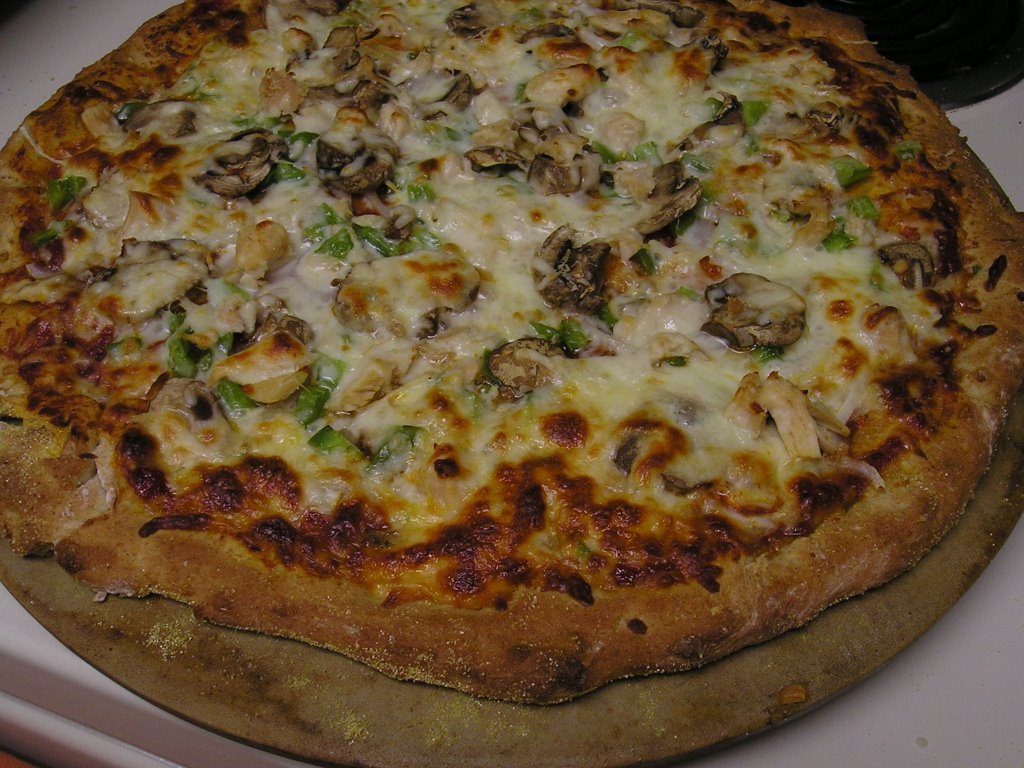
It has taken me either two or three weeks to get this posted! A few Thursdays ago, my roomie and I had a couple of friends over for a study break/dinner. I had told them that I would make my dad's famous pizza. I got kind of nervous that day because the only time I had made the dough was with Daddy supervising! This really is an easy dough to do and is yummy!

So, I go downstairs about 30 minutes before they are to arrive to start getting things ready. They arrive just about the time to start shaping the dough. WEll...I guess I didn't let the dough rest quite long enough because when I started stretching it, it kept tearing and shrinking. What did I do...threw the ball of dough in the trash can and started over!!! The second one worked although it started to do the same thing as the first. I was a little more patient and as a little time passed, the dough became more pliable and stretched for me! It turned out great! As you can see, we enjoyed it!

You really can top this with whatever you want. I used tomato sauce (I just use Prego/Ragu, but homemade would be even better!), chicken, onion, green pepper, mushrooms (A MUST!), and cheese. If you wanted you could use pesto insead of tomato sauce and that would be really good. I've also seen a pizza with bar-b-que sauce, chicken, and caramelized onions! It was good except I'm not a big fan of BBQ sauce.

For all of you who think that pizza is a diet no, think again. The tomato sauce is GREAT for you, high in anti-oxidants. The veggies are wonderful and a must in healthy eating. I use part-skim Mozzarella cheese, which isn't bad, but you could use low-fat (no no-fat) cheese. Pair one piece of pizza with a salad and there is a delicious and healthy meal! It's a little early, but this is my entry for Sweetnick's ARF Tuesday! I just couldn't wait any longer to do this pizza! Check her site out on Tuesday for more.

Daddy's Pizza crust
Mix and sift:
1/2 cup whole wheat flour
1/2 cup bread flour
2 heaping teaspoons yeast (or one packet)
1 teaspoon salt
1 Tablespoon sugar

Add a scant cup of hot water. Mix. Add 2 teaspoons olive oil. Add 1/2 cups of flour as needed (usually around 2 times). Knead. Place dough in an oiled bowl. Place this bowl in a larger bowl with warm water. Microwave for 2 minutes at power level 2, rest for 5 minutes (or longer if needed). Punch down and knead a couple of times.

Sprinkle corn meal over pizza stone (or pan you will use). Gently stretch the dough to fit the pan. Be patient! If it won't stretch give it a little time. Once in desired shape and size, sprinkle with garlic powder. At this point, top with the desired sauces and toppings. Bake the pizza at 425 F for 15 minutes or until cheese is slightly browned. If you want to pre-bake the crust, cook it for 8 minutes. This gives a slightly "puffier" crust. Enjoy with friends! On a large Pampered Chef stone, this makes 12 slices.

Monday, October 09, 2006


After our little breakfast in Sunday School, we had a fellowship at lunch. I don't think that was scheduled very well but that's how it worked out! Anyway, I signed up to bring a salad and thought that since it is October, I should make something fall-y. I decided that I would use apples, walnuts, and cranberries! This salad turned out SO good, I think I'll make it again for myself! Thank goodness there were leftovers just enough for lunch on Tuesday!

Fall Apple Salad
1/2 bag spring mix salad greens
1/2 bag Mediterranean salad greens
1 Gala Apple, chopped
1 Granny Smith Apple, chopped
1 small bag chopped walnuts
Craisins
shredded carrots
mushrooms

Place greens in a large bowl. Add apples, walnuts, craisins, carrots, and mushrooms. Use your judgement and tastes to decide how much carrots, mushrooms, and craisins to add. Choose a salad dressing or oil/vinegar and enjoy! Top with chicken, turkey, or shrimp for a complete meal!

Sunday, October 08, 2006

Strawberry Fields


Last weekend our church had a special conference called Global Impact Conference. This is a time for us to learn about different missions opportunities and how God is working in other countries. Many missionaries, often assocatiated with our church, come to the states for reports, etc. During the Sunday worship service we (the choir) sang a song called "Hallelujah to the Lamb." It is one of my favorites as it reminds me of how one day everyone will sing praises to Jesus as Savior and Lord. Another reason is that we have a processional of all the national flags. It's really neat.

ANYWAY, on to the food! My Sunday School teacher asked me to bring something for breakfast, as we were going to have two of the missionaries visiting our class. The other two girls were bringing cinnamon rolls and breakfast casserole, so I decided we needed something fruity! Thanks for the suggestions many of you gave me last week. I would have loved to have done a fruit salad, but that is just too expensive right now. So, I decided to try a recipe from Cooking Light that I have been eyeing since May.

It's really pretty easy to make, is very moist, and tastes great! I did have to add more strawberry jam than the recipe called for, but other than that I give this a 4/5! I'll probably make it again, maybe trying different jam flavors or even adding some fresh fruit! This can be frozen if you want to make it ahead of time.

Strawberry Jam Crumb Cake
Cooking Light May 2006

Crumb topping:
1/4 cup all-purpose flour (about 1 ounce)
1/4 cup packed brown sugar
1/4 teaspoon ground cinnamon
2 tablespoons chilled butter, cut into small pieces

To prepare crumb topping, lightly spoon 1/4 cup flour into a dry measuring cup; level with a knife. Combine flour, brown sugar, and cinnamon in a small bowl. Cut in 2 tablespoons butter with a pastry blender or 2 knives until mixture resembles coarse meal; set aside.

Cake:
Cooking spray
1 1/4 cups all-purpose flour (about 5 1/2 ounces)
1/2 teaspoon baking powder
1/4 teaspoon baking soda
1/8 teaspoon salt
2/3 cup powdered sugar
1/4 cup butter, softened
1/2 teaspoon vanilla extract
1 large egg
6 tablespoons fat-free milk
2 tablespoons fresh lemon juice
1/4 cup reduced-sugar strawberry spread (such as Smucker's) (I used about 1/2 cup)

Preheat oven to 350°.
To prepare cake, lightly coat an 8-inch springform pan (I used a round cake pan and it worked just fine) with cooking spray; set aside. Lightly spoon 1 1/4 cups flour into dry measuring cups; level with a knife. Combine flour, baking powder, baking soda, and salt in a small bowl; set aside.

Combine powdered sugar and 1/4 cup butter in a large bowl; beat with a mixer at medium speed until well blended (about 2 minutes). Add vanilla and egg; beat 2 minutes. Combine milk and juice; add to sugar mixture, and beat 2 minutes. Add half of flour mixture to sugar mixture; stir until smooth. Add remaining flour mixture, and stir just until combined.

Spoon half of batter into prepared pan, spreading evenly. Top with strawberry spread. Spoon remaining batter over strawberry layer, spreading evenly. Sprinkle reserved crumb topping evenly over batter. Bake at 350° for 45 minutes or until a wooden pick inserted in center comes out clean. Cool 10 minutes in pan on a wire rack; remove from pan. Cool completely on wire rack.

Yield: 12 servings (serving size: 1 wedge)

NUTRITION PER SERVINGCALORIES 191(30% from fat); FAT 6.3g (sat 3.8g,mono 1.7g,poly 0.3g); PROTEIN 2.5g; CHOLESTEROL 33mg; CALCIUM 32mg; SODIUM 123mg; FIBER 0.5g; IRON 0.9mg; CARBOHYDRATE 31.7g

Saturday, October 07, 2006

Gobble, gobble


I found a recipe at Allrecipes for a turkey meatloaf the other day and decided to test it out. I had some ground turkey left over from my stuffed peppers and wanted to use it. The loaf ended up being kind of short but it tasted alright. However, I'm used to a tomato based sauce on my meatloaf; this recipe didn't have one. If I made this again, which I don't think I will, I would add some sort of sauce to it. I'd give it a 3/5. I have a couple of Cooking Light recipes for turkey meatloaf that I'd like to try; they look better than this one.

Healthy Turkey Loaf

1/2 pound ground turkey
1 egg
1/4 cup salsa
1/8 cup chopped red bell pepper (I only used green bell pepper; the others are too expensive)
1/8 cup chopped yellow bell pepper
1/4 cup chopped onion
1/4 cup dry bread crumbs (I added some wheat bran because it was a little too mushy)
lemon pepper to taste
I added some Parmesan cheese on top
DIRECTIONS
Preheat oven to 350 degrees F (175 degrees C).
In a large bowl combine the turkey, egg, salsa, red bell pepper, yellow bell pepper, onion, bread crumbs and lemon pepper. Mix well with hands until blended. Press mixture into a loaf pan.
Bake in the preheated oven for 25 minutes. You REALLY need to cook for about an hour. Just check it, but definitely longer than 25 minutes!