Monday, March 28, 2011

It's Lunchtime

Thes week for Eat. Live. Be we are talking about lunches. 

I'm pretty good about taking my lunch to work.  First off, it's cheaper.  Secondly, it's healthier.  I'm not fancy with my lunches but quite often get comments of "That looks so good!"  What are they commenting on?  Well...seriously......salads!  Yep, I can make a pretty mean salad.  Usually, I use either spinach or romaine.  Then I top it with tomatoes, olives, cottage cheese and/or hummus.  Then I'll add whatever other deliciousness that I have including cucumbers, onions, bell pepper, apples, berries, or any leftover veggies.  If I have squash or eggplant hanging around I somestimes use that, too.  If avacados are on sale then I may put those on there.  Sometimes I'll go for a Mexican theme and use refried beans and salsa with yogurt (Greek).  Usually this salad does have apples on it.  If I don't take a salad then I'll usually take a wrap.  Sometimes it's an avacado wrap, other times a Mexican wrap with refried beans.  Other times I do a fully veggie and hummus wrap.  All of them are delicious and quick and simple to make.  That is key for me!  I typically make my lunch the night before so that the next morning all I have to do is grab it. 

Speaking of simple, that's what these cookies are!  They are the second selection from my new cookbook.  The reason I chose to make them was...it's all I had the ingredients for and I didn't want to go to the store!  HA!  They remind me of a sugar cookie recipe (I thought I had made it on here but apparently not.  I'll have to sometime) that I've made before with butter and oil.  It lends to a pretty sandy cookie...seems to be a trend but I like it!  These were well received on call despite there simplicity.

Sugar Crinkles from Southern Living Incredible Cookies
1 cup shortening
1 1/2 cups sugar
2 large eggs
1 teaspoon lemon juice
1 teaspoon vanilla extract
2 1/2 cups flour
2 teaspoons baking powder
1/2 teaspoon salt
1/4 cup (I had to have used more) sugar

Cream shortening and sugar at medium speed until fluffy.  Add eggs, lemon, and vanilla.  Mix in dry ingredients.  Chill.  Preheat oven to 350.  Roll dough into 1-inch balls, roll in sugar and place on baking stones.  Cooke for 8-9 minutes or until just starting to turn golden.  Cool for 1-2 minutes then move to cooling racks.

Sunday, March 27, 2011

Daring Bakers in March

Going into this month's Daring Baker challenge, I hoped that I would be able to participate but wasn't sure.  However, I had a light day at the beginning of the month and decided to take advantage.  Let me just say that it's a good thing I did or else this challenge would not have been completed.  The March 2011 Daring Baker’s Challenge was hosted by Ria of Ria’s Collection and Jamie of Life’s a Feast. Ria and Jamie challenged The Daring Bakers to bake a yeasted Meringue Coffee Cake.

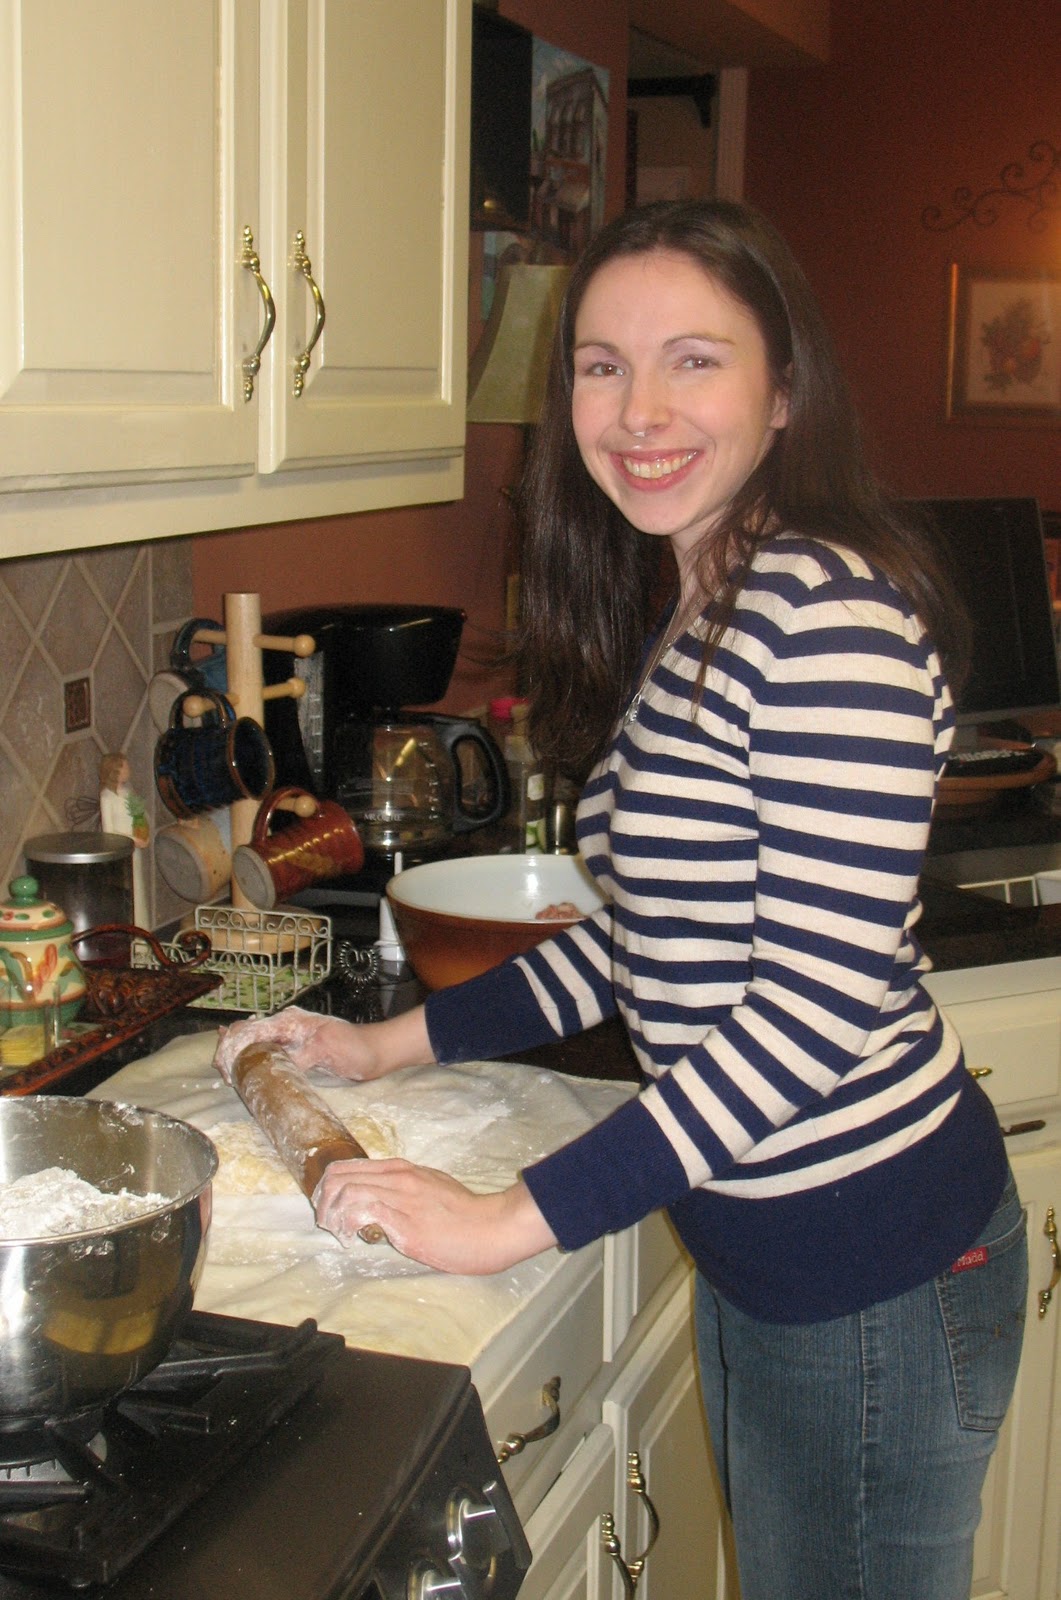
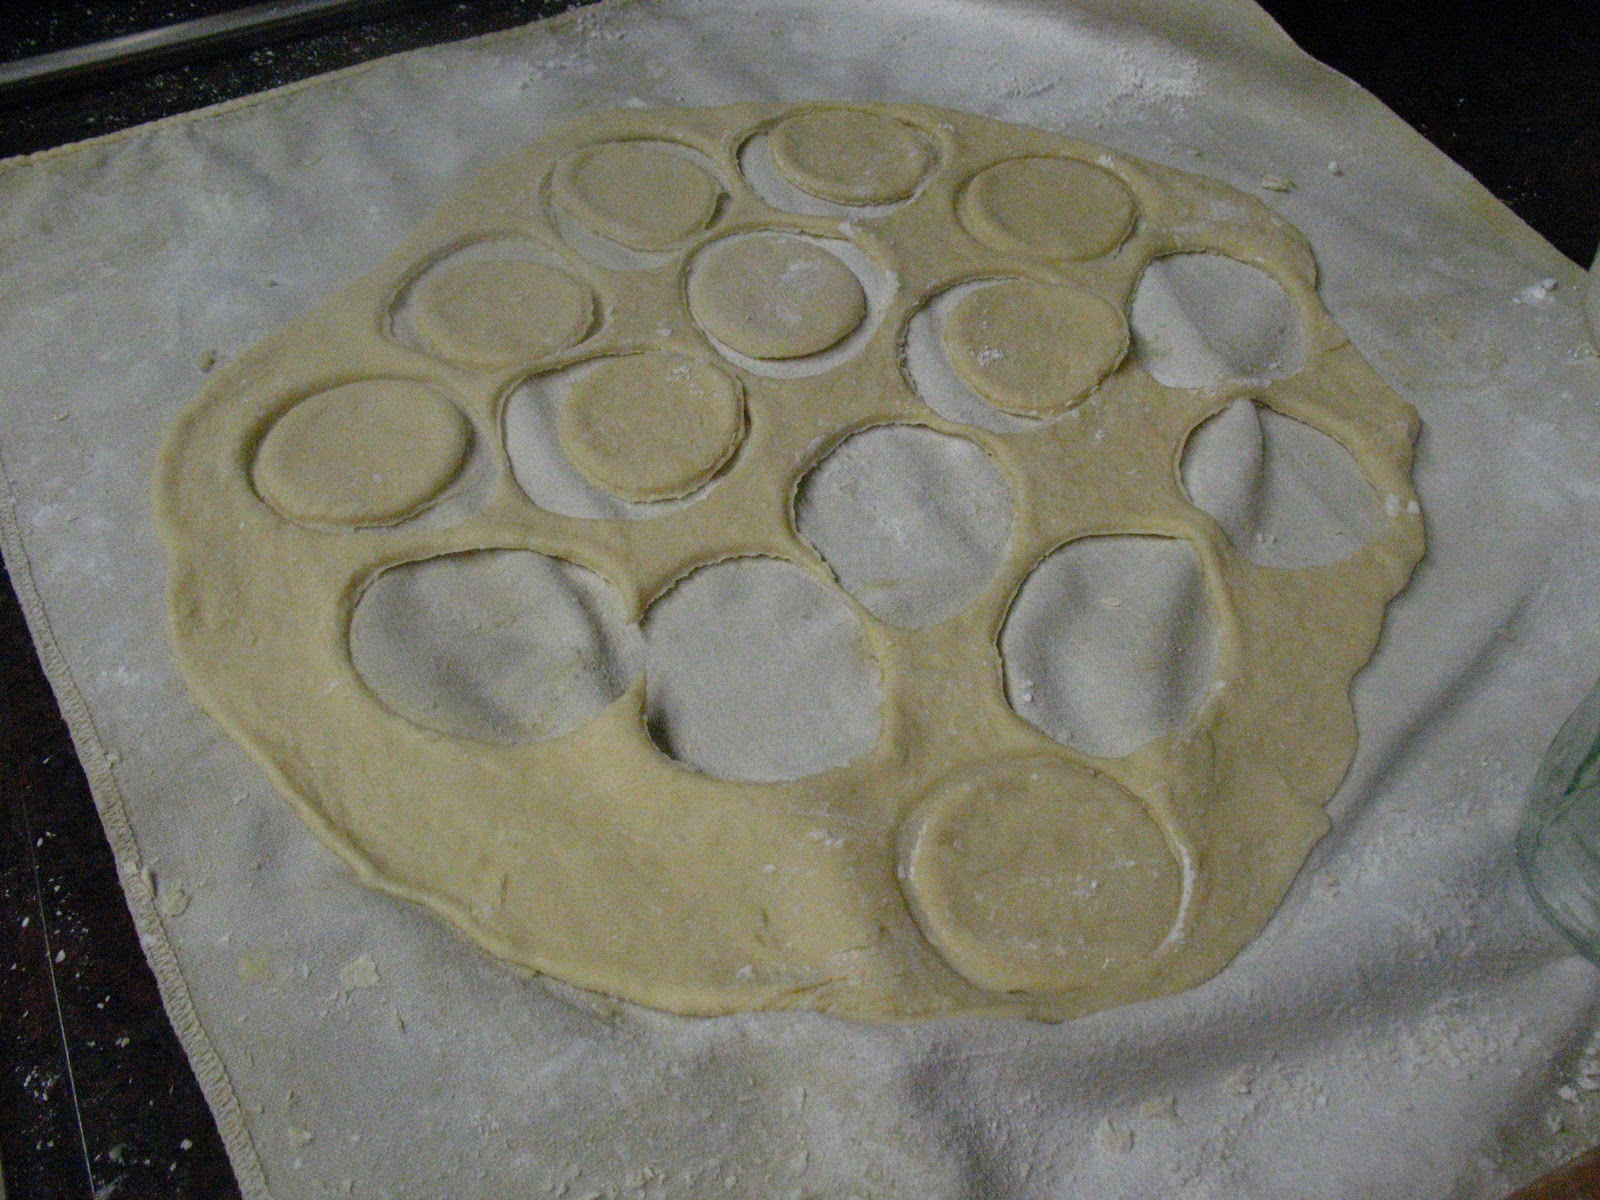
Making the dough was fairly simple but I did have some trouble rolling the dough out.  Every time I would roll, it pulled back and I never could get it the size or thinness that I wanted.  Also, my mixing bowl was dirty when I made this and I was too lazy to wash it; so, I tried to whip the egg whites with my own little arms!  Well, the fluffed up but didn't get quite as stiff as they should have...but I was tired!...so I stopped.  When I rolled up the dough, the meringue pushed out some.  Apparently, it didn't matter...

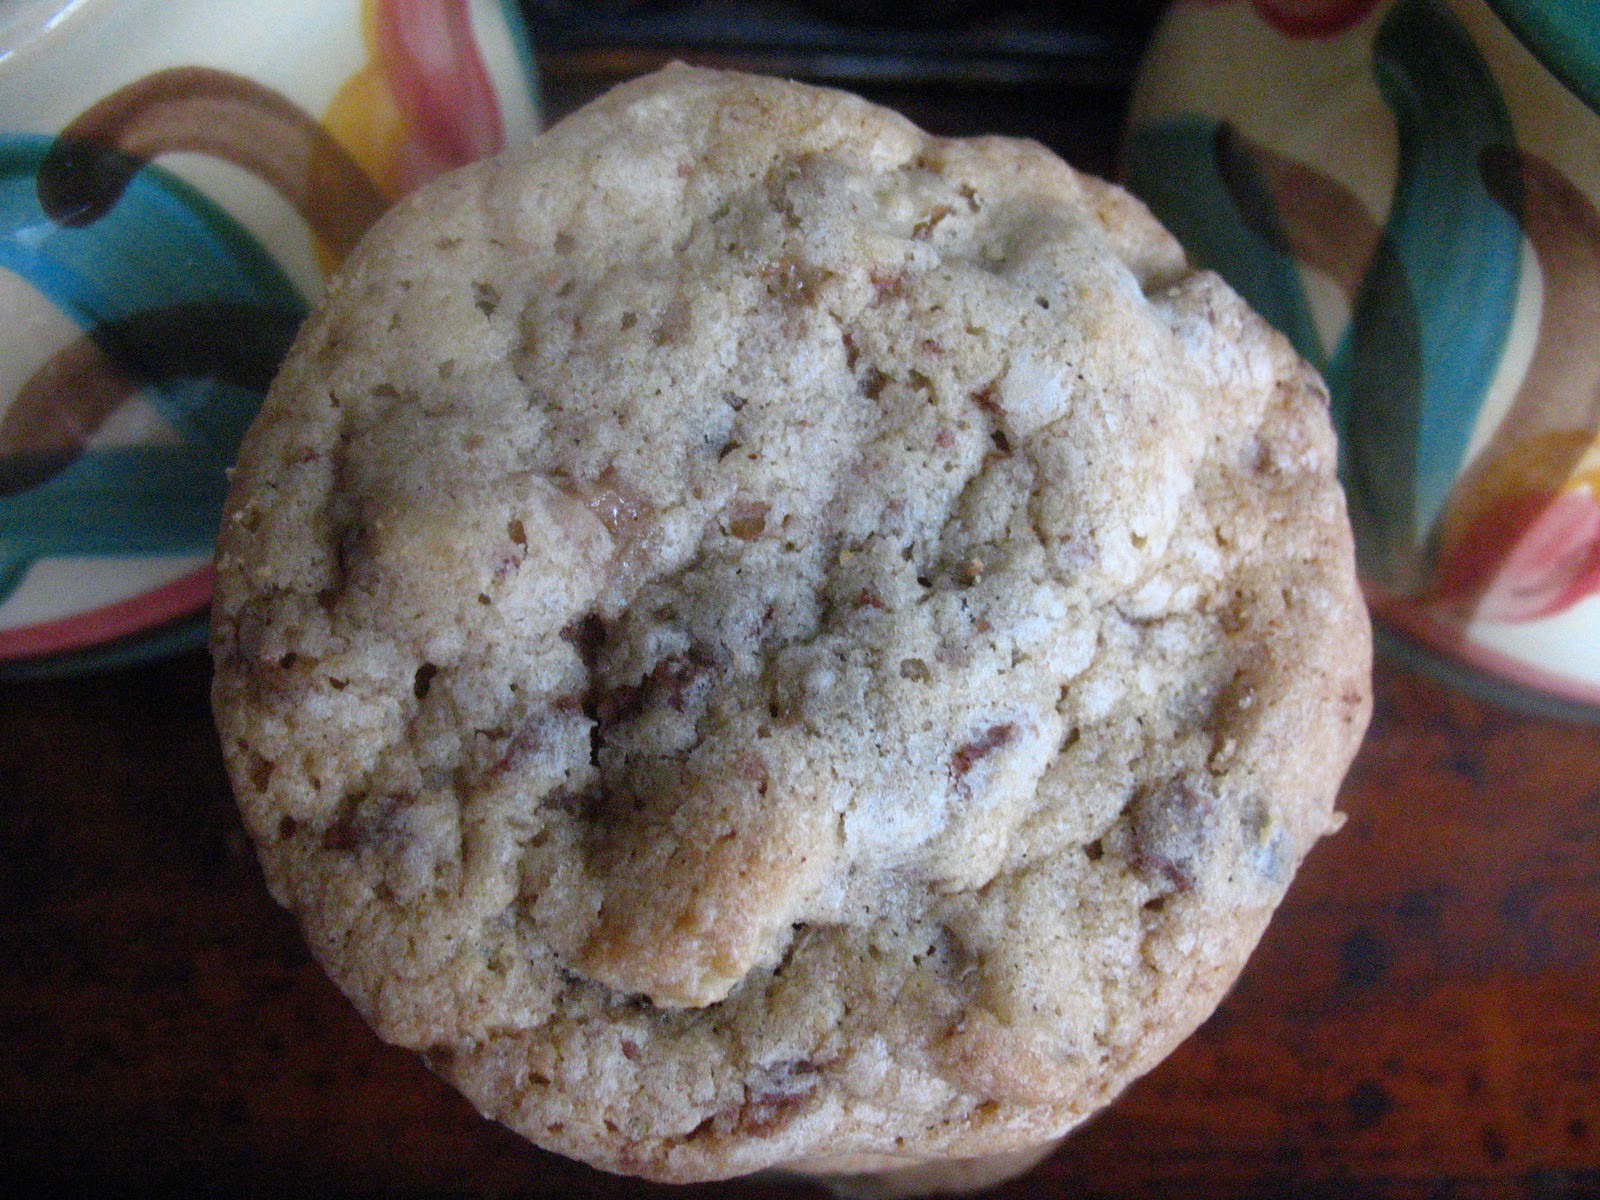
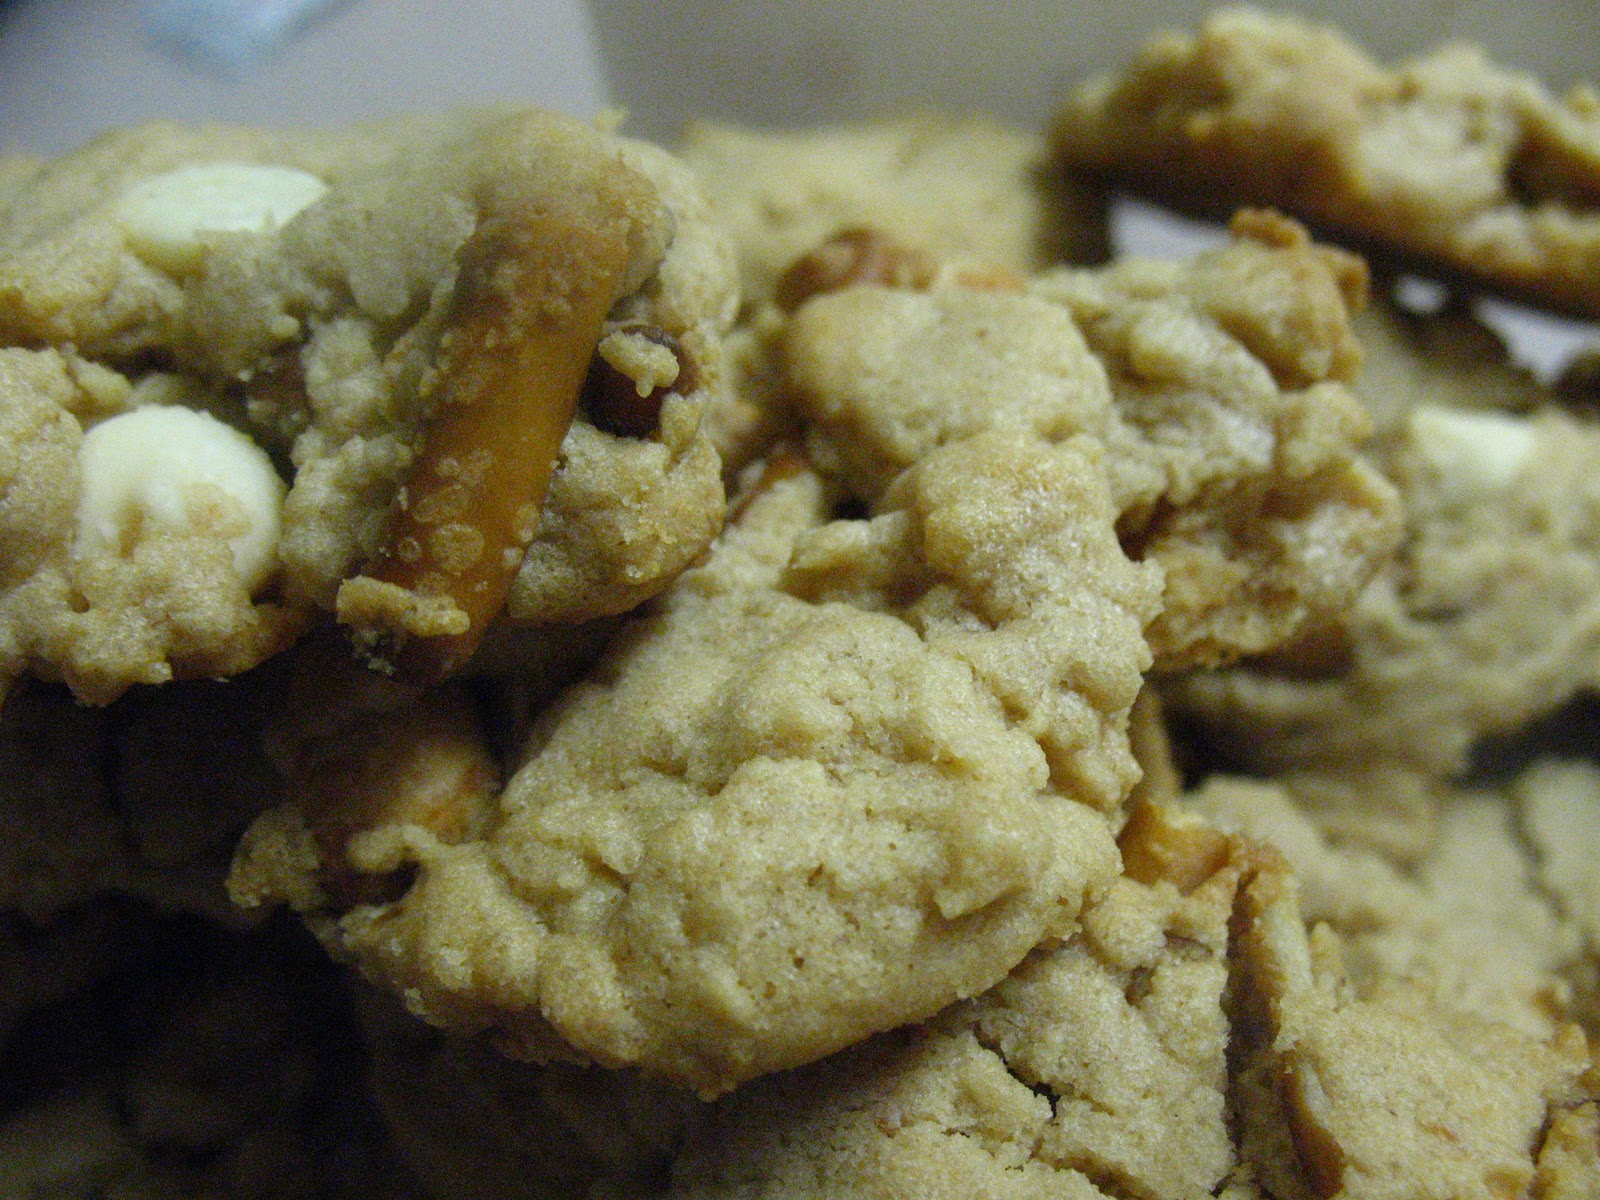
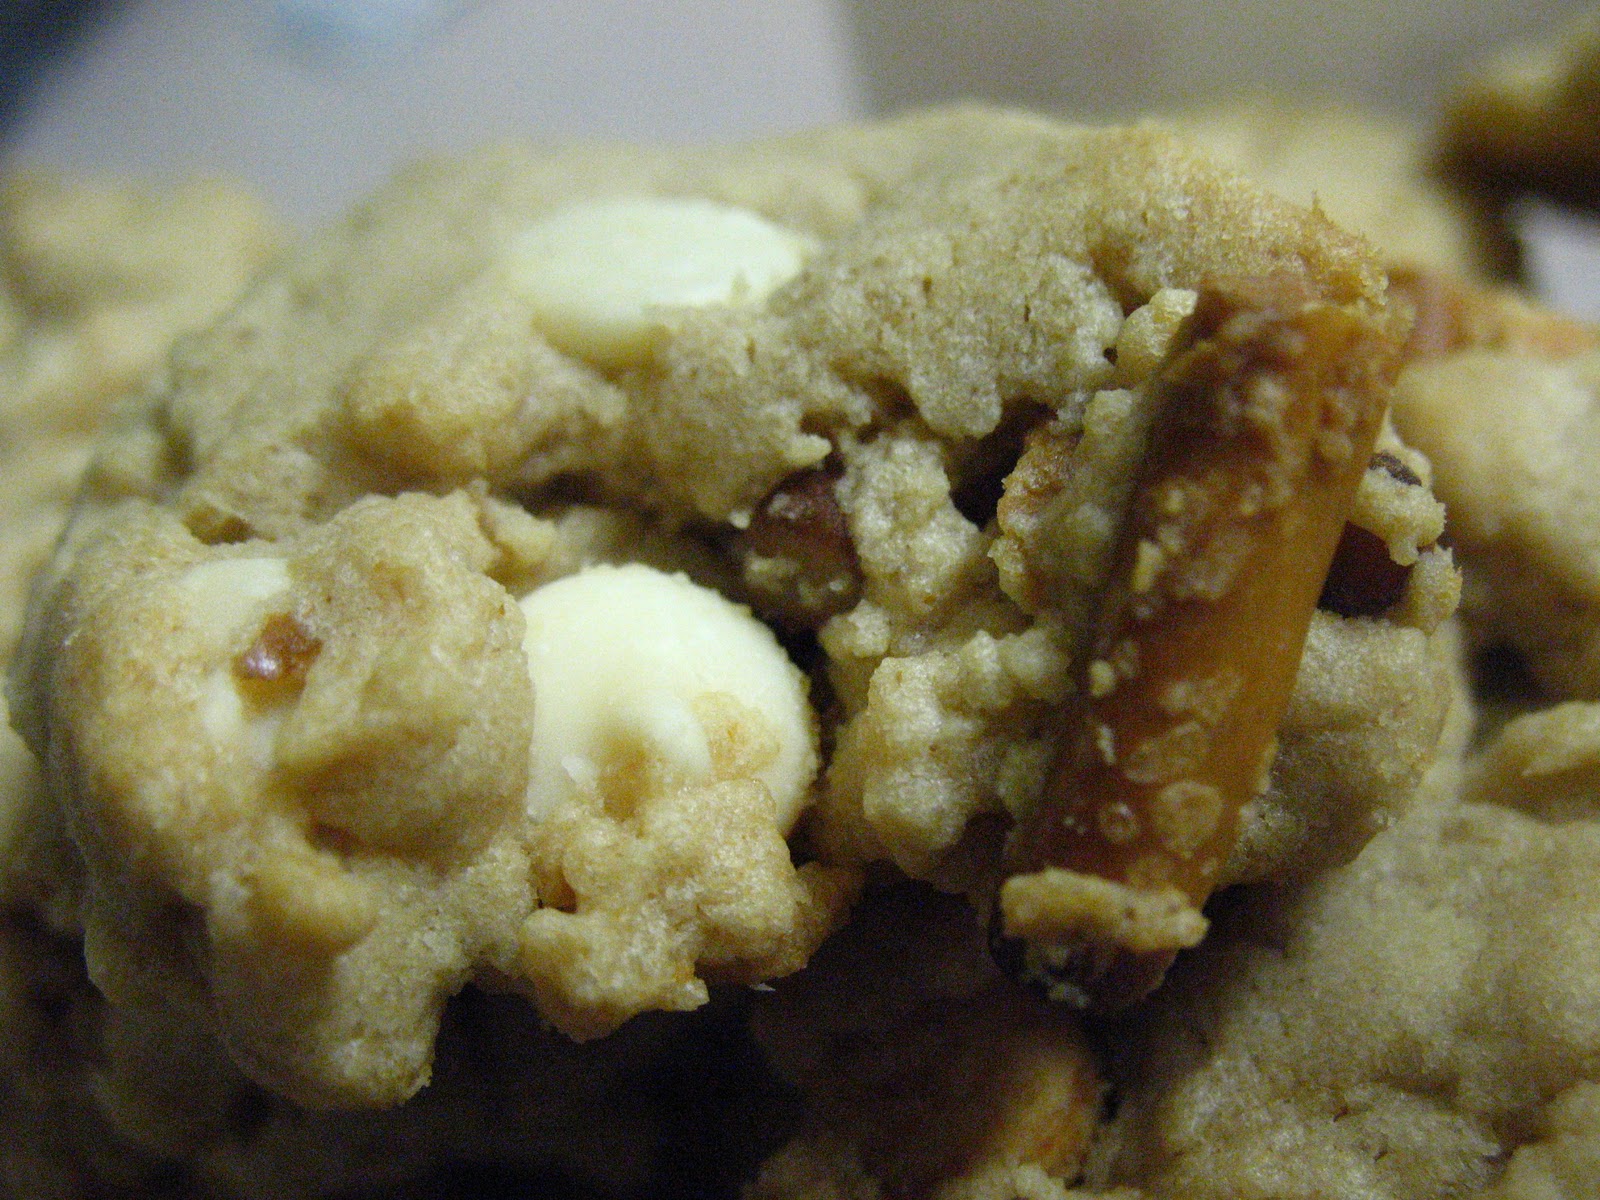
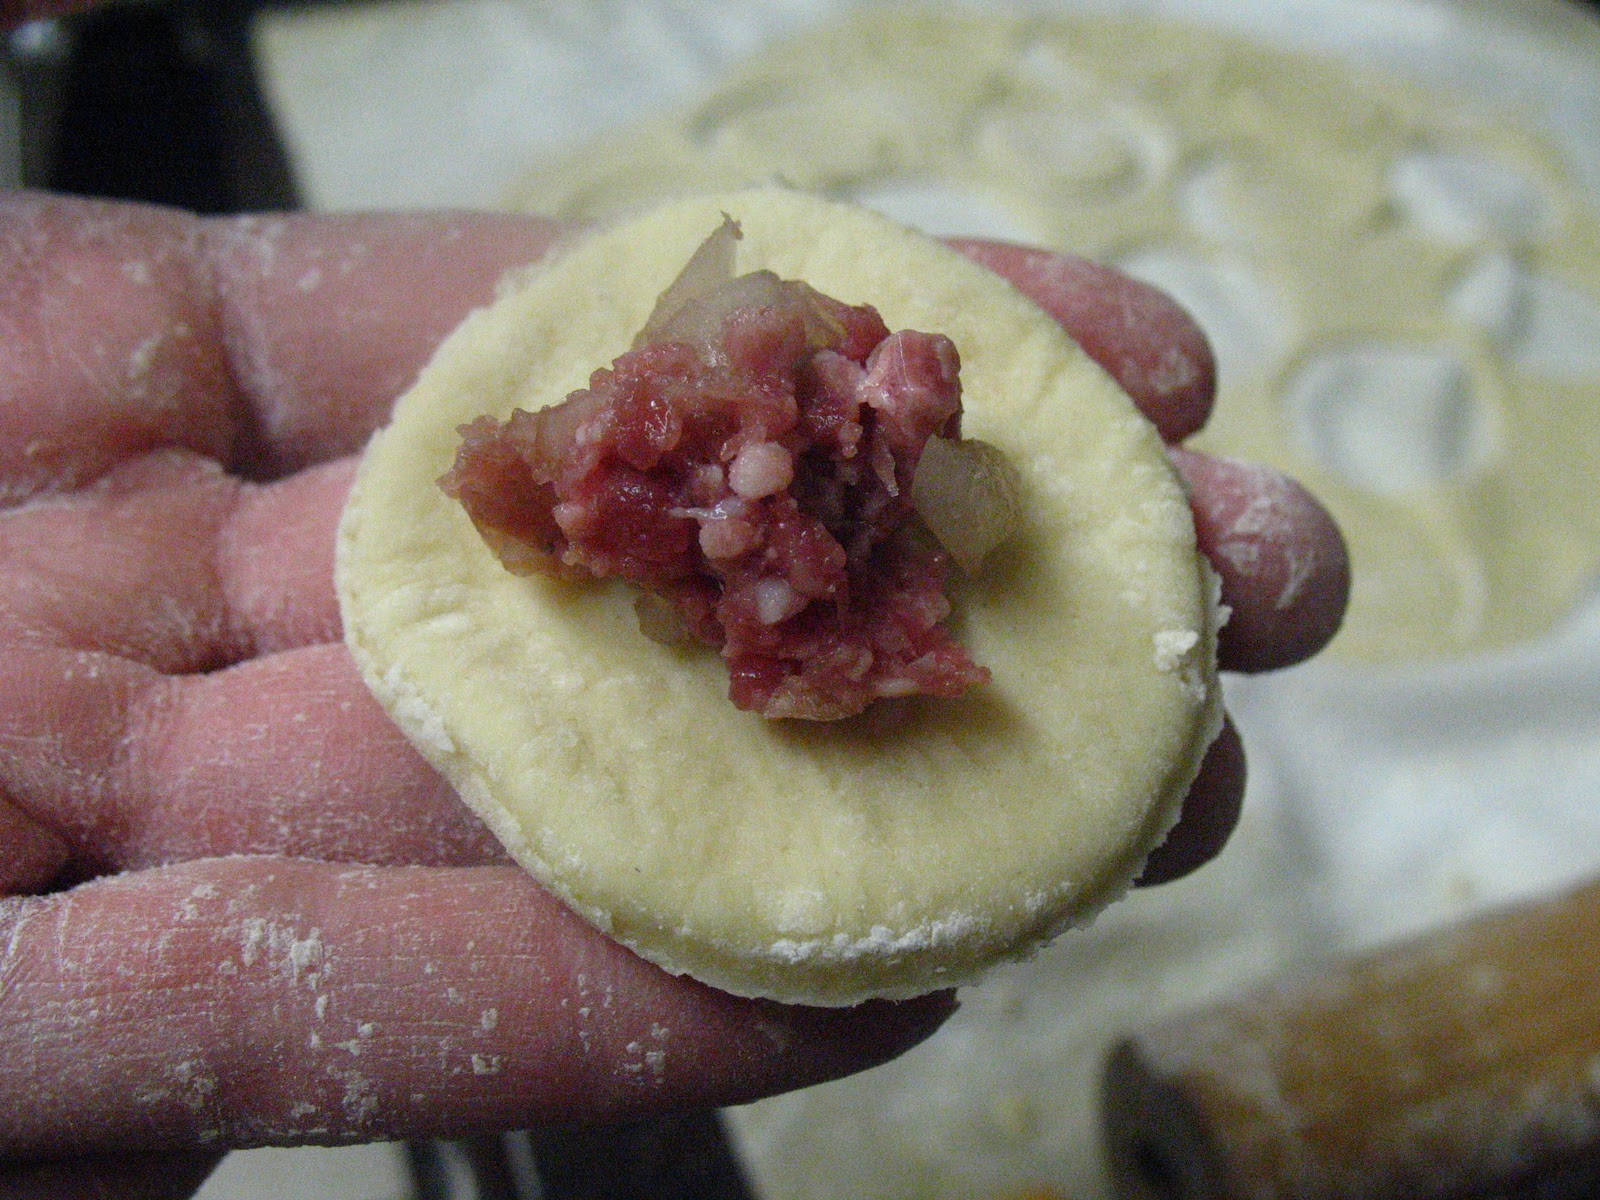
I used chocolate, butterscotch chips, and pecans as my filling.  I took it to work the next morning and one of the interns (who was post-call) tried a piece...and then later told me that he had gone back for three more! 
:-)  I think it was good. 

The dough really reminded me of King Cake dough...soft and mildly sweet.  Yum!  When I told my mom that I was making the challenge so early in the month, I told her I would freeze some for her visit later...and then forgot that I had done so.  When she came, I was looking the freezer and saw this bag with something wrapped in aluminum foil.  I figured she brought it but she insisted that she didn't.  FINALLY, I remember what it was...it froze PERFECTLY!  So, if you find that the recipe makes too much just wrap it well and freeze to enjoy later!

FILLED MERINGUE COFFEE CAKE
Makes 2 round coffee cakes, each approximately 10 inches in diameter
The recipe can easily be halved to make one round coffee cake

For the yeast coffee cake dough:
4 cups (600 g / 1.5 lbs.) flour
¼ cup (55 g / 2 oz.) sugar
¾ teaspoon (5 g / ¼ oz.) salt
1 package (2 ¼ teaspoons / 7 g / less than an ounce) active dried yeast
¾ cup (180 ml / 6 fl. oz.) whole milk - I used skim
¼ cup (60 ml / 2 fl. oz. water (doesn’t matter what temperature)
½ cup (135 g / 4.75 oz.) unsalted butter at room temperature
2 large eggs at room temperature

For the meringue:
3 large egg whites at room temperature
¼ teaspoon salt
½ teaspoon vanilla
½ cup (110 g / 4 oz.) sugar

Jamie’s version:
1 cup (110 g / 4 oz.) chopped pecans or walnuts
2 Tablespoons (30 g / 1 oz.) granulated sugar
¼ teaspoon ground cinnamon
1 cup (170 g / 6 oz.) semisweet chocolate chips or coarsely chopped chocolate

Prepare the dough:
In a large mixing bowl, combine 1 ½ cups (230 g) of the flour, the sugar, salt and yeast.

In a saucepan, combine the milk, water and butter and heat over medium heat until warm and the butter is just melted.   With an electric mixer on low speed, gradually add the warm liquid to the flour/yeast mixture, beating until well blended. Increase mixer speed to medium and beat 2 minutes. Add the eggs and 1 cup (150 g) flour and beat for 2 more minutes.

Using a wooden spoon, stir in enough of the remaining flour to make a dough that holds together. Turn out onto a floured surface (use any of the 1 ½ cups of flour remaining) and knead the dough for 8 to 10 minutes until the dough is soft, smooth, sexy and elastic, keeping the work surface floured and adding extra flour as needed.


Place the dough in a lightly greased (I use vegetable oil) bowl, turning to coat all sides. Cover the bowl with plastic wrap and a kitchen towel and let rise until double in bulk, 45 – 60 minutes. The rising time will depend on the type of yeast you use.


Prepare your filling:In a small bowl, combine the cinnamon and sugar for the filling if using. You can add the chopped nuts to this if you like, but I find it easier to sprinkle on both the nuts and the chocolate separately.

Once the dough has doubled, make the meringue:


In a clean mixing bowl – ideally a plastic or metal bowl so the egg whites adhere to the side (they slip on glass) and you don’t end up with liquid remaining in the bottom – beat the egg whites with the salt, first on low speed for 30 seconds, then increase to high and continue beating until foamy and opaque. Add the vanilla then start adding the ½ cup sugar, a tablespoon at a time as you beat, until very stiff, glossy peaks form.

Assemble the Coffee Cakes:
Punch down the dough and divide in half. On a lightly floured surface, working one piece of the dough at a time (keep the other half of the dough wrapped in plastic), roll out the dough into a 20 x 10-inch (about 51 x 25 ½ cm) rectangle. Spread half of the meringue evenly over the rectangle up to about 1/2-inch (3/4 cm) from the edges. Sprinkle half of your filling of choice evenly over the meringue (ex: half of the cinnamon-sugar followed by half the chopped nuts and half of the chocolate chips/chopped chocolate).  Now, roll up the dough jellyroll style, from the long side. Pinch the seam closed to seal. Very carefully transfer the filled log to one of the lined cookie sheets, seam side down. Bring the ends of the log around and seal the ends together, forming a ring, tucking one end into the other and pinching to seal. 

Using kitchen scissors or a sharp knife (although scissors are easier), make cuts along the outside edge at 1-inch (2 ½ cm) intervals. Make them as shallow or as deep as desired but don’t be afraid to cut deep into the ring.  Repeat with the remaining dough, meringue and fillings.  Cover the 2 coffee cakes with plastic wrap and allow them to rise again for 45 to 60 minutes.
Preheat the oven to 350°F (180°C).  Bake in the preheated oven for 25 to 30 minutes until risen and golden brown. The dough should sound hollow when tapped.

Monday, March 21, 2011

A Day in My Life

This week for Eat. Live. Be. we are talking about what a typical day is like and how we are fitting in our "healthy changes."  Well, I must admit that my typical week day hasn't changed very much.  Even when I do plan to make dinner, those plans are thwarted by an unexpected 12 hour day at work the day before working a 30 hour shift!  So, if I cook a meal (which, for me, will last a week since I'm the only one eating it) it will likely be on the weekend.  However, I'll still let you in on a typical day. 


When I wake up, I get dressed and come out to my kitchen, pour a cup of coffee (new since January!) from my new coffee maker and sit down to ready my Bible.  Then I get my stuff together for work complete with breakfast and lunch, brush my teeth and head out the door.  I'm usually at work by 6:45 or 6:50 though that has slowed down a bit as the month wears on!  When I get to work, I print my list and go see all my patients.  Then we have conference and I eat breakfast after that.  Following breakfast we have rounds.  Then it's time for noon conference.  I usually eat after noon conference unless I'm just starving, then I'll eat during.  The afternoon is for following up labs, admitting new patients, or clinic.  After work, I go straight to the gym and work out.  Then I come home and crash for a little, eat supper, and prepare my lunch for the next day.  I try to be in bed by 10.  Sometimes it's later, sometimes earlier...though I'm definitely sleepy earlier!  And, that, my friends, is a typical day!  Not to exciting or luxurious. 

Sarah Caron - http://www.sarahscucinabella.com/
•Cate O’Malley - http://www.sweetnicks.com/
•Chris Arpante - http://www.melecotte.com/
•Patsy - http://familyfriendsandfood.blogspot.com/
Joanne - http://www.joanne-eatswellwithothers.com/
Tri-Fit Mom - http://trifitmom.blogspot.com/
•Allison - http://sweetflours.blogspot.com/
Jen - http://njepicurean.blogspot.com/
•Leslie - http://www.thehungryhousewife.com/
•Rivki Locker - http://www.healthyeatingforordinarypeople.com/
•Jennifer Schulz - http://lick-a-plate.blogspot.com/
•Sarah Rogers - http://sarahssweetcreations.blogspot.com/
Denise and Lenny - http://www.chezus.com/


Oh, and how could I forget about making cookies!  I do that in between my crashing and preparing lunch for the next day.  Like I mentioned in my last post, my mom's friend got me a new cookbook for my birthday and I've decided to cook my way through it (SO excited about it!).  I've already made six recipes from it.  This cookie is the first one I tried and it was great. 

I picked it out specifically for when I went to visit my parents due to the chocolate covered coffee beans.  They turned out really good!  The edges were crisp but the middle chewy.  A perfect cookie!

Coffee Bean Cookies from Southern Living Cookies
1/2 cup butter, soft (1 stick)
1/2 cup shortening
3/4 cup sugar
3/4 cup brown sugar, packed
2 large eggs
1 teaspoon vanilla
2 1/4 cups flour
1 teaspoon baking soda
1/2 teaspoon cinnamon
1 cup chopped pecans, toasted
1 cup chocolate covered coffee beans
1 cup chopped toffee bars (or bits o' brickle)

Preheat oven to 350.  Cream butter and shortening together and gradually add sugars.  Add eggs and vanilla, mix well.  Mix in dry ingredients (flour, soda, cinnamon).  Stir in pecans, coffee beans, and toffee. Chill if desired.  Drop by teaspoonfuls onto a baking sheet or stone.  Bake fro 10-11 minutes or until golden.  Cool and place onto cooling rack to finish cooling.  Enjoy!

Saturday, March 19, 2011

Back to the Cookies

I think I have been away from giving you cookie recipes for long enough!
 Plus, I am getting quite the stockpile of cookies for you since I've been on a call month AND I got a cookie cookbook from my mom's best friend for my birthday.  I've decided that I'm actually going to cook through it and am already five cookies down in about three weeks!!!  Let's just say I hope you all live with or know a "cookie monster."  :-)  This cookie, however, is one that I found on Picky Palate.  It is one of those recipes that made me wonder "Why didn't I think of that!?"  I mean peanut butter, pretzels, and white chocolate!? 

Brilliant.  And they did not disappoint.  One of the things I liked about this recipe was the "sandiness" of the cookies.  They were your typical peanut butter cookie in that they had a certain moistness but they also possessed a great sandiness that I think came from adding the white chocolate into the peanut butter.  Sooo good!  I didn't add any salt to the top of them, but I know that would just top everything off.  If you are a peanut butter junkie, you must try these!

Double White Chocolate Peanut Butter Pretzel Cookies adaped from Picky Palate

1 stick softened butter, 8 tablespoons
1/2 cup granulated sugar
1/2 cup packed light brown sugar
1 cup white chocolate chips, to melt
1 1/4 cups creamy peanut butter (reserve 2 tablespoons to add to melting white chips)
1 large egg
2 teaspoons vanilla
1 1/4 cups all purpose flour
1/2 teaspoon baking soda
1 cup broken pretzel pieces
1 Cup additional white chocolate chips

Preheat oven to 350 degrees F. Cream butter and sugars until light and fluffy. Melt white chocolate chips and 2 Tablespoons peanut butter in the microwave (about 30 seconds-1minute) and stir together.  Add melted chocolate chips and remaining peanut butter to beaten butter and sugars. Beat in egg and vanilla.
Place flour, baking soda and salt in bowl; mix to combine (or just add on top of wet ingredients). Add to wet ingredients until just combined then pour in pretzels and additional white chocolate chips. Scoop dough onto a silpat or baking stone. Gently press down each cookie to about 1/2 inch in thickness. Bake for 12-15 minutes or until edges become golden and slightly crisp. Let cool for 10 minutes on baking sheet before removing.  Enjoy!

Monday, March 14, 2011

International Day 3

And I let you hanging!!!  So sorry about that.  My month has been crazy with 3 calls down and no sleep on any of those calls.  But let's rejoin the program...when we last met, I had just made a wonderful tomatoe salad.  But what to go with the salad?  Pelmeni!  This is a little meat filled pasta.  You can serve simply with some parsley on top along with vinegar, sour cream, and salsa on the side.  When I first looked up this recipe I was shocked to see how simple the filling ingredients are.  There is just something unique and distinct about the flavor, yet it is just made from a mixture of beef and pork (or beef and lamb), onion, salt, and pepper. SO simple...yet so delicious! 

We used 1/2 pound of each and had enough for probably two batches of the pasta dough.  The dough was hard to work with, which led to, I think, using too much flour; we also had to roll it out several times, so that led to the dough toughening up.

 However, outside of a few touch doughy pieces, it was wonderful!  The filling was just right and the smitana (sour cream) and salsa added just enough extra.  So, if you want a taste of Russia...try out pelmeni!

Pelmeni
Dough:

2-3 c flour
1/2 cup warm boiled water
2 eggs
1 tsp salt (amount may vary to taste)

Put flour on counter or board and form a well in the center.  Mix together the water and eggs.  Slowly incorporate the liquid into the flour by mixing from inside out.  The dough will seem sticky, keep working with it.  Add a little flour if you need to.  Put in the refrigerator for 30-40 minutes until ready to use.

Filling:
500 g beef
500 g pork/lamb
1 onion, finely minced
1 tsp salt
seasoning to taste

Mix together all ingredients.  Add a bit of liquid if needed.  When you are ready you can prepare the dough one of two ways.  Either roll out the dough very thinly and cut out small circles using the top of a glass. 
 
 The other option is to make the dough into a snake and cut off small portions to roll into individual circles. 
 
 When your dough is ready, scoop a small portion of meat (1/2-1teaspoon) and put it in the center of the dough. 
 
Fold the dough in half and seal the edges. 
 
Then, grab the corners of the dough and pull them together.
 
When all the pelmeni are made, boil a large pot of water and salt it.  Place the pelmeni in the water. 
 
When they float to the top, they are done! 
 
They really are...I tested one because I was scared it wasn't ready.  When they are all ready, top with parsley and enjoy!!!  Serve with vinegar, sour cream, and salsa.
 
If you have too many for one sitting, you can freeze them to cook later.
 
In Eat. Live. Be. news, today we are supposed to talk about what is different this time, helping us stick to our health goals.  Well, to be honest, the only thing that is keeping me honest to my goal of cooking twice a month IS Eat. Live. Be!  Otherwise, I probably wouldn't.  I don't even know if I'll be able to do it this month, it has been so crazy!  Hopefully, I will.  See how everyone else is doing:
 
Sarah Caron - http://www.sarahscucinabella.com/
•Cate O’Malley - http://www.sweetnicks.com/
•Maris Callahan - http://www.ingoodtasteblog.net/
•Chris Arpante - http://www.melecotte.com/
•Faith - www.clickblogappetit.com/
•Kristen - http://www.dineanddish.net/
•Emily - http://andersonfamilycrew.blogspot.com/
•Jenna - FireMom - http://stopdropandblog.com/
•Casey - http://www.thestarnesfam.com/
•Patsy - http://familyfriendsandfood.blogspot.com/
Tri-Fit Mom - http://trifitmom.blogspot.com/
•Allison - http://sweetflours.blogspot.com/
•Jen - http://njepicurean.blogspot.com/
•Leslie - http://www.thehungryhousewife.com/
•Rivki Locker - http://www.healthyeatingforordinarypeople.com/
•Claudia - Journey of an Italian Cook
•Jennifer Schulz - http://lick-a-plate.blogspot.com/
•Sarah Rogers - http://sarahssweetcreations.blogspot.com/
Denise and Lenny - http://www.chezus.com/

Monday, March 07, 2011

International Day 2

Do you have certain smells that remind you of a certain time, place, memory, person, etc?  I do!  Fruit loops (the smell) reminds me of my Granny.  Juicy fruit makes me think of my Aunt Merle.  Honey Nut Cheerios reminds me of MaG and Papa (as does peanut butter crackers and coke!).  Other smells bring not so good memories...formaldehyde, gross lab...but we won't go there, this IS a food blog!  When I smell a salad that has been made with vinegar, it makes me think of Bishkek!  We had a somewhat limited diet when we were there.  Ham, cheese toast, potatoes, more ham, and LOTS of tomatoes and cucumbers. 

This salad was a staple of the diet there...and it is SO good and simple.  When we made it last weekend my mom and I were both "mmm"ing the whole time!  Sometimes, simple is the best!  I changed the ratio of things a big, but I think it turned out just fine.  All the recipe I had put more oil in the vinegar mixture, but I think that 2 Tablespoons is plenty; I could still see remnants of oil on the container when I was done.  If you want something light, easy, and satisfying to the taste buds, please try this!

Today in Eat. Live. Be. we are talking about what cookbooks and resources are helping keep us on track.  I must be honest and say that I really haven't pulled out any cookbooks other than my new cookie cookbook (that I have decided to cook through!  already done with three recipes!).  However, I know that there are several recipes I want to try in my Rachel Ray 2, 4, 6, 8 cookbook.  I also have a collection of old magazine recipes plus some new Eating Well magazines that have great recipes in them.  As much as I say that I'll pull them out, I don't know if I will.  Really, I just need to schedule a dinner party...being with other people makes me cook and really, truly makes me happy!  What do YOU use for good recipes? 

Come back later this week and I'll give the recipe for these yummy pelmeini!

Tomato Cucumber Salad
1/2 cucumber, sliced and halved
3 roma tomatoes, chunked
1/2 onion, cut into THIN slices and separated
1/4 cup vinegar
2 tablespoons oil (I used olive oil)
salt and pepper to taste
1/4 teaspoon dried dill weed (hee hee...makes me laugh...weed!)

Put all the vegetables in a bowl.  Mix the remaining ingredients together in a bowl.  Pour over the veggies and allow to marinate in the refrigerator for at least 30 minutes, the longer the better!  Enjoy!

Sarah Caron - http://www.sarahscucinabella.com/
•Cate O’Malley - http://www.sweetnicks.com/
•Maris Callahan - http://www.ingoodtasteblog.net/
•Chris Arpante - http://www.melecotte.com/
•Faith - www.clickblogappetit.com/
•Kristen - http://www.dineanddish.net/
•Emily - http://andersonfamilycrew.blogspot.com/
•Jenna - FireMom - http://stopdropandblog.com/
•Casey - http://www.thestarnesfam.com/
•Patsy - http://familyfriendsandfood.blogspot.com/
•Tri-Fit Mom - http://trifitmom.blogspot.com/
•Allison - http://sweetflours.blogspot.com/
•Jen - http://njepicurean.blogspot.com/
•Leslie - http://www.thehungryhousewife.com/
•Rivki Locker - http://www.healthyeatingforordinarypeople.com/
•Claudia - Journey of an Italian Cook
•Jennifer Schulz - http://lick-a-plate.blogspot.com/
•Sarah Rogers - http://sarahssweetcreations.blogspot.com/
Denise and Lenny - http://www.chezus.com/

Sunday, March 06, 2011

Let's Go International!

I have some fun, international recipes to share with you.  A couple of them conjure up great memories from many (read 17) years ago and the one I will share today is associated with new memories!  My Sunday School class had a Super Bowl party exactly one month ago today.  We were all to bring some sort of food.  Well, I knew that there would be PLENTY of sweets and dips, and I added to them with these wonderful truffles, so I decided to bring a yummy salad.  I had been savind this recipe for a while and decided it was a perfect time to try it out.  I found it on Our Best Bites and thought it looked wonderful.  Well, let's just say it was a hit!  I did not expect that and thought for sure that I'd have LOTS of leftovers.  WRONG!  I had just enough for lunch the next day...that was IT!  Almost everyone asked for the recipe, especially the dressing

...even the guys.  HA!  So, if you have a salad-fearing man in your life, try this one out.  Not promising, but maybe it will make him like a salad.  Try it out!

Asian Cabbage Salad  adapted from Our Best Bites
1 14 oz bag coleslaw mix
1/2 cucumber, sliced
aboue 30 sugar snap peas cut in half
1/2 bell pepper, sliced (I used green b/c that's what I had, but red would be GREAT!)
1/4 of a small red onion, thinly sliced
1/3 C slivered or sliced almonds, toasted*

Add 1 1/2 C cooked, shredded or diced chicken to make it a meal

Dressing:
2 Tablespoon canola oil
1/4 Cup + 2 Tablespoons rice wine vinegar
2 Tablespoon sugar (or equivalent of sugar substitute)
1 teaspoon kosher salt
2 teaspoon soy sauce
1/4 teaspoon garlic powder, or one small garlic clove, minced
1/4 teaspoon black pepper
1 teaspoon minced garlic

Begin by making dressing. Combine all ingredients in a sealed jar and shake shake shake.

Store in the fridge until ready to use. You can definitely do this part a few days ahead of time.  Combine all salad ingredients in a large bowl (except nuts) and pour dressing over them.  Toss to combine and allow to sit for at least