Tuesday, November 30, 2010

More Candy Treats

Remember when I posted about the candy cookies that I made?  Well, when I bought that candy, I also bought some pretzel M&M's (they are SO good!).  After having those around for a while, I decided that it was time to get them out of the house. 

I remembered that Emily had created a yummy looking brownie using these little treats, so I decided to make those for my Bible studay.  Emily...I had several requests for the recipe!!!  These were great brownies topped off with a nice, dark chocolate glaze and bright pretzel M&M's.  Perfect!!!

M&M Pretzel Brownies from Emily at Sugar Plum

2/3 cup all purpose flour
1/3 cup unsweetened cocoa powder
1/2 teaspoon baking soda
1/4 teaspoon salt
3 large egg yolks
1 cup granulated sugar
1/2 cup unsalted butter, melted
1 teaspoon vanilla extract
1/2 cup chocolate chips
2/3 cup coarsely chopped pretzel M&M's, divided

Glaze
2 tablespoons unsalted butter, softened
2/3 cup confectioners' sugar
2 1/2 tablespoons unsweetened cocoa powder
1 tablespoon milk
1/2 teaspoon vanilla extract

Preheat oven to 375 degrees F. Line an 8x11-inch baking dish foil; coat foil with cooking spray or butter.
In a medium bowl, whisk together flour, cocoa powder, baking soda and salt. Then, in a separate bowl, using a mixer on high speed, beat egg yolks and sugar for 3 minutes, until light yellow and fluffy. Beat in melted butter and vanilla for 1 additional minute. Reduce mixer speed to low and beat in flour mixture until well combined - about 1 minute. Stir in chocolate chips and 1/3 cup chopped pretzels M&M's until combined. Spread batter evenly into prepared dish.  Bake 15-16 minutes or until well risen and set. Remove dish from oven and cool on a wire rack for 10 minutes.

Meanwhile, prepare the glaze. In a medium mixing bowl using a mixer on medium speed, beat butter until creamy; beat in confectioners' sugar cocoa powder, milk and vanilla, until well incorporated - about 2 minutes. Spread glaze evenly over warm brownies. Sprinkle remaining 1/3 cup M&M's on top. Cool completely in refrigerator before lifting out foil and slicing into bars.  Enjoy!

Saturday, November 27, 2010

A Pizza Pie

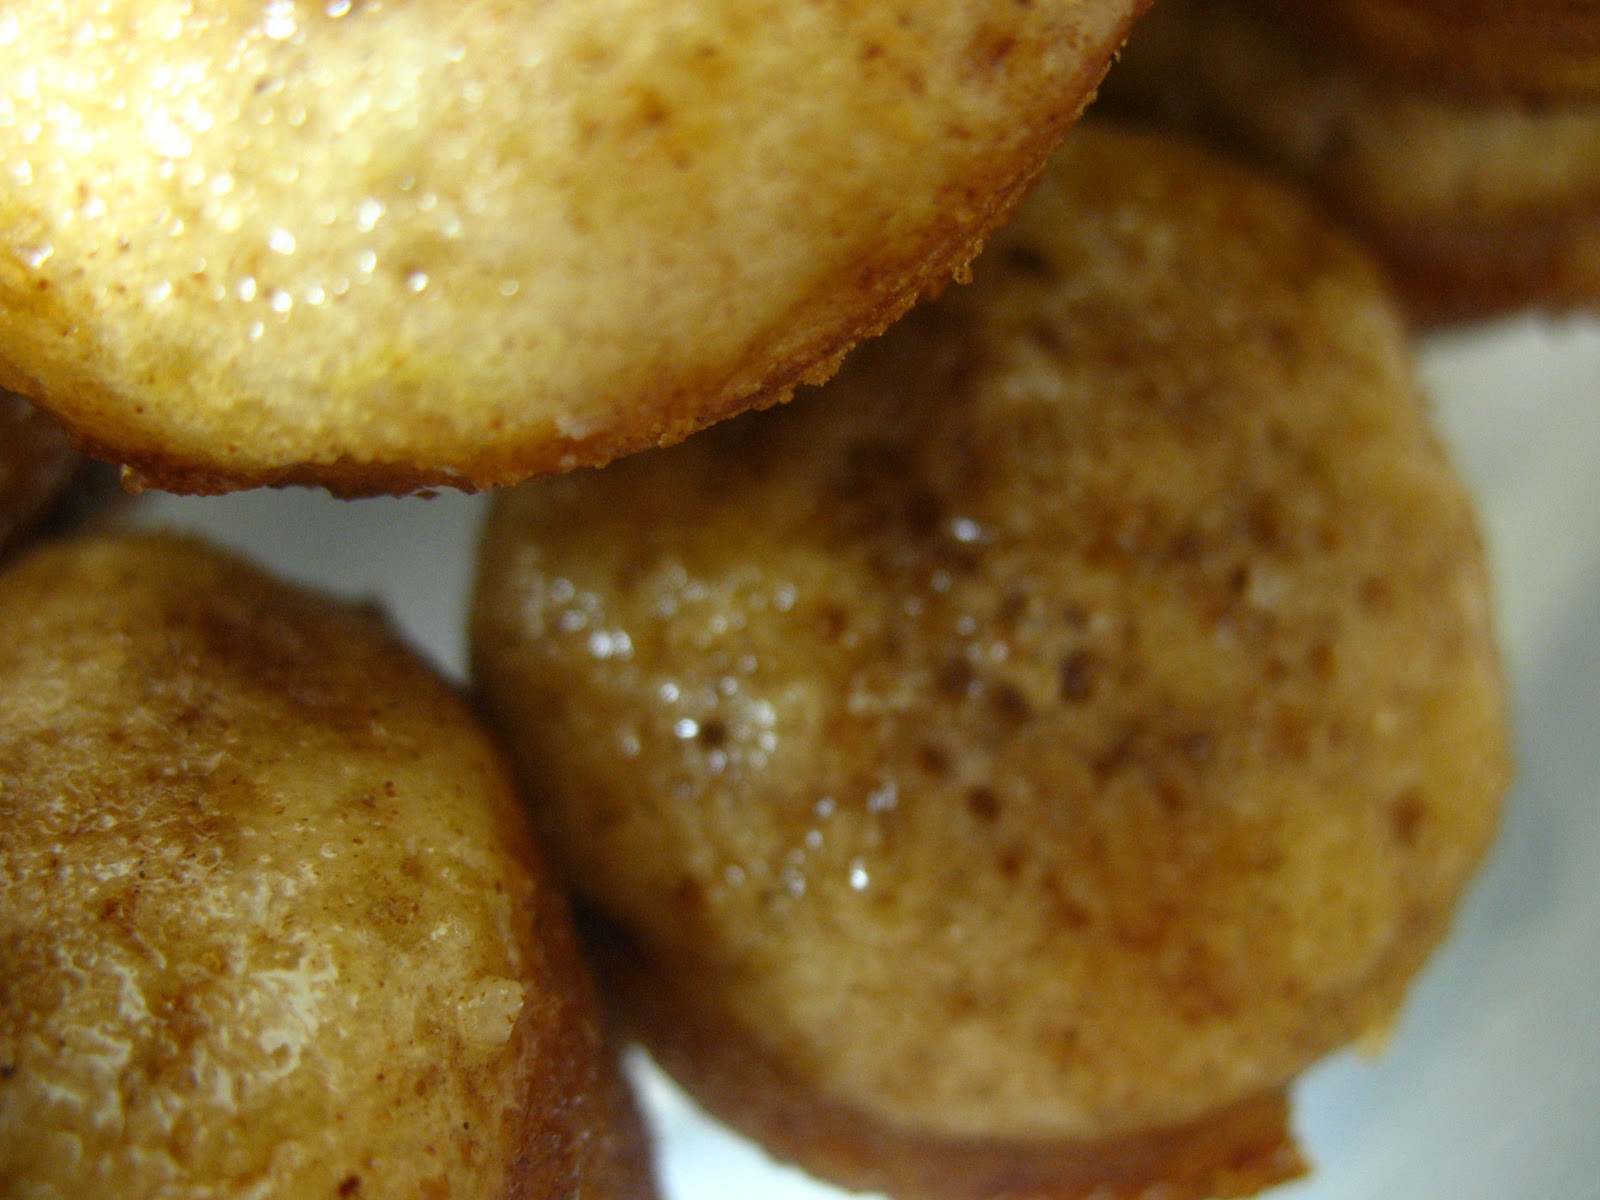
Well, not exactly, but when I was preparing the crust for this month's Daring Baker's challenge, my little cousin came up to help me and said that's what she was making...a pizza pie! 

The 2010 November Daring Bakers’ challenge was hosted by Simona of briciole. She chose to challenge Daring Bakers’ to make pasta frolla for a crostata. She used her own experience as a source, as well as information from Pellegrino Artusi’s Science in the Kitchen and the Art of Eating Well.  When I first saw the challenge, I started thinking about different options for fillings.  The one I really wanted to do was a cranberry pomegranate jam but I didn't ever get the ingredients and ran out of time once I was home.  After I finally decided to make the crostata for Thanksgiving dessert, I decided to see what other people had brought before I decided on a filling.  Well, we had chocolate cake, chocolate pie, pecan pie, pumpkin pie, chocolate chip cookies, and caramel bars.  I figured that something fruity would be a good option to have.  Unfortunately, after perusing the refrigerator and pantry, I determined that we didn't have any jam.  So, I went in search of a filling recipe and came across this one.  I ended up making one recipe and topping it with fresh fruit. 

Kind of reminded me of a fruit pizza...maybe this was a "pizza pie!"  All in all, I really liked the pasta frolla.  It was very simple to make and to work with.  The edges got a little hard after baking but the crust under the filling was nice and tender.  Everyone else liked it, too.  My cousin even asked me to send her the recipe...can't forget to do that!  Thanks, Simona for the challenge! 

Version 1 of pasta frolla

Ingredients:
•1/2 c. minus 1 tablespoon [105 ml, 100 g, 3 ½ oz] superfine sugar (see Note 1) or a scant 3/4 cup [180ml, 90g, 3 oz] of powdered sugar
•1 and 3/4 cup [420 ml, 235 g, 8 1/4 oz.] unbleached all-purpose flour
•a pinch of salt
•1 stick [8 tablespoons / 4 oz. / 115 g] cold unsalted butter, cut into small pieces
•1 large egg and 1 large egg yolk, lightly beaten in a small bowl
Making pasta frolla by hand:
Whisk together sugar, flour and salt in a bowl. Rub or cut the butter into the flour until the mixture has the consistency of coarse crumbs. You can do this in the bowl or on your work surface, using your fingertips or an implement of choice. Make a well in the center of the mounded flour and butter mixture and pour the beaten eggs into it (reserve about a teaspoon of the egg mixture for glazing purposes later on – place in the refrigerator, covered, until ready to use).

Use a fork to incorporate the liquid into the solid ingredients, and then use your fingertips. Knead lightly just until the dough comes together into a ball. Shape the dough into a flat disk and wrap in plastic wrap. Place the dough in the refrigerator and chill for at least two hours. You can refrigerate the dough overnight.

Assembling and baking the crostata con la crema:


Heat the oven to 350ºF [180ºC/gas mark 4].  Take the pasta frolla out of the fridge, unwrap it and cut away ¼ of the dough. Reserve this dough to make the lattice top of the crostata...or give it to your little cousin to make a "pizza pie." Refrigerate this dough while you work on the tart base.

Lightly dust the top of the dough and your work surface (if you’re rolling directly on a work surface) with flour. Keep some flour handy to dust the dough as you go along. If the dough is very firm, start by pressing the dough with the rolling pin from the middle to each end, moving the rolling pin by a pin's width each time; turn the dough 180 degrees and repeat; when it softens, start rolling. Roll the dough into a circle about 1/8th inch (3 mm) thick.  Lightly fold the dough in half and in half again.  Pick it up an place it in the pan.  Gently unfold the dough and fit it to the pan.  Trim the excess dough hanging over the edges of the pan. Press the remaining dough around the border into the sides of the pan making sure the border is an even thickness all the way around. Prick the bottom of the dough with a fork in several places.

Cover the bottom of the crostata crust evenly with prepared pastry cream.  Put the tart in the oven and bake for 30 minutes. After 30 minutes, check the tart, and continue baking until the tart is of a nice golden hue. (Note: Every oven is different. In my oven it took 45 minutes to bake the tart until golden.)  When done, remove the tart from the oven and let cool. Top with fruit to garnish.  Place in the refrigerator to cool.  If you have used a tart pan with a removable bottom, then release the tart base from the fluted tart ring. Make sure the tart is completely cool before slicing and serving. 

For Pastry Cream (from CHOW via Pink of Perfection)
1/4 cup granulated sugar
3 tablespoons all-purpose flour
1/4 teaspoon kosher salt
1 cup buttermilk
2 large egg yolks
1/4 teaspoon vanilla extract (or 1/4 vanilla bean, split, seeds scraped and reserved)

Combine sugar, flour, and salt in a small mixing bowl. Whisk gently to break up any lumps, and set aside. Prepare an ice water bath in a larger mixing bowl, and set aside.

In a small saucepan, combine buttermilk and egg yolks, whisking until evenly incorporated. Whisk in dry ingredients, and place the pan over medium heat. Cook, whisking constantly, until mixture is thick enough to coat the back of a spoon, about 4 minutes.

Friday, November 19, 2010

Candy, Candy Everywhere!

I think that most parents find themselves drowning in candy following Halloween.  I don't find myself in this predicament.  However, I PUT myself in this predicament...I go buy candy at the clearance following the holiday!  So, I decided to use all of the peanut butter candies I bought for a cookie to share with my co-residents.


The candies I used were Reese's Nutrageous, Reese's Stix, Reese's Peanut butter cups, and Butterfinger.  Told you, peanutty!  The Nutrageous gave a bit of a mushroom like quality to the cookie because of the nugat.  However, I think my favorite part was the butterfinger!  Totally and awesome, flaky peanut butter treat!    For a leavener, I used cream of tartar.  I loved the unique flavor that this leavener actually gives the cookie.

Candy Cookies
11 tablespoons butter, softened
1 cup brown sugar
1/2 cup white sugar
1 egg
2-2.5 cups flour (Oops!  I can't remember how much I used...start with 2 cups and if the dough seems too thin, add a bit more flour...that's one thing I always do with recipes I'm trying because I do NOT like a thin cookie!)
1 teaspoon cream of tartar
1/2 teaspoon salt
~1 cup of candies cut into small pieces

Preheat oven to 350 F.  In a mixing bowl, cream together the butter and sugars.  Add the egg.  Stir in flour, cream of tartar and salt.  Finally, add that yummy candy!  Place onto baking sheets or stones in tablespoon sized scoops.  Bake for 10-12 minutes, or until slightly browning.  Don't overbake as the cookies will continue to cook on the baking sheet when you remove.  Cool for 3-5 minutes and remove to a cooling rack for the remained of the cooling period.  Enjoy!

Tuesday, November 16, 2010

Banana What?!

I LOVE buying those big bags of bananas that are "ready to eat" (though really overly ripe if you ask me) because they are perfect for baking!  However, sometimes I want to try sometime other than banana bread.  The other day, I wanted something a little fall-like as well.  For some reason, banana cornbread popped into my head. 

So, I went in search of a recipe and found this one.  The picture on Ashley's blog looked SO good that I decided to try this one.  However, I had a bit of a problem...no maple syrup.  No biggie, I decided to use molasses.  So, where I used molasses, the original recipe used maple syrup.  It turned out to have a nice texture and just enough molasses flavor.  The banana wasn't overwhelming and you might not really know it was there if you weren't told.  However, put a little butter on this and it is some FANTASTIC cornbread!  Try it out!  Thanks, for a great recipe Ashley!

Molasses Banana Cornbread
1 cup stone ground cornmeal
3/4 cup white whole wheat flour
1 teaspoon cinnamon
1/2  teaspoon salt
1 teaspoon baking soda
2 medium bananas, mashed
Slightly less than 1/2 cup molasses
1 egg white
1/2 cup skim milk

Preheat the oven to 350 F. Spray an 8 x 4-inch loaf pan with cooking spray and set aside.  In a large bowl, mix cornmeal, flour, cinnamon, salt and baking soda.  In a separate bowl, mix together bananas, molasses, egg white and skim milk.  Stir the banana mixture into the dry ingredients until just blended. Pour into prepared pan and bake for about 35-40 minutes.

Sunday, November 14, 2010

Cheeeeese!

 Two weeks from now, I will be at my parents' house and we will have celebrated Thanksgiving with my dad's entire family...around 25 people.  One of the most favorite appetizers is cheese.  As soon as the first relative arrives someone pulls out the cheese.

We don't usually MAKE any special appetizers, but if you do like to make a special appetizer and have someone who likes cheese these would fit the bill!  It is a recipe from my mom's family cookbook and is from my Aunt Jean.  My dad's mom, my Granny!, had a similar recipe but for cheese sticks instead of rounds.

  I made these for one of those many baby showers we've been having at work...and everyone loved them.  The expectant mom even went back for more at the end of the shower!  So, pull these out at your Thanksgiving celebration and enjoy!

Cheese Rounds
1 stick butter
2 cups grated sharp cheese (I used cheddar)
1 cup flour
1 teaspoon salt
Tabasco to taste (I think I used Tony's instead)
Pecan halves (optional)

Blend ingredients together in a bowl.  Next shape.  There are two options.  If you have time, divide the dough into two large balls, then work each into a long roll 1 inch thick.  Wrap this in waxed paper or cling wrap and chill.  When ready to use, slice into thin discs.  Place pecan half on top of each disc.

Other shaping option if you don't have much time (this is obviously the one I used!) if to form the dough in to small balls 1/2-1 inch in size depending on how big you want your cheese rounds. 

Preheat oven to 350 degrees.  Place your discs or rounds onto an ungreased baking sheet and bake for 10-15 minutes.  Enjoy!

Thursday, November 11, 2010

Peter, Peter, Pumpkin Eater

I've been able to go to Sunday School recently.  I typically have to work at least half the Sundays of the month, but was able to go three Sundays in October.  So, I took to making a breakfast treat for everyone.  I took the Daring Baker donuts, then a few weeks ago I took a pumpkin pound cake with buttermilk glaze.

  It was pretty good and was actually a cooking light recipes, so it was less caloric than your typical pound cake.  I found this on Myrecipes.com.  The glaze wasn't exactly what I was expecting, it was a bit more "gel-like" but I kind of liked it. 

The recipe says that it serves 16, but I got more slices out of the recipe than that.  I was even able to share it with my friends who just had a baby and my best friend from med school.  In my opinion, any recipe that lets me share is a good recipe!

Pumpkin Pound Cake with Buttermilk Glaze adapted from Myrecipes
1 can (15 ounce) pumpkin
1/3 cup sugar
3/4 cup packed brown sugar
1/3 cup butter, softened
4 eggs
1 teaspoon vanilla extract
3 cups AP flour
1 1/2 teaspoons baking powder
1/2 teaspoon baking soda
1/2 teaspoon salt
3/4 cup buttermilk

Glaze:
1/3 cup buttermilk
1/4 cup sugar
2 tablespoons butter
2 teaspoons cornstarch
1/8 teaspoon baking soda

Preheat oven to 350 degrees F.  Mix butter and sugars together for 3 minutes.  Add eggs 1 at a time, beating well after each addition.  Beat in pumpkin and vanilla.  Spoon dry ingredients together in a separate bowl.  Add flour to mixture, alternating with the buttermilk, beginning and ending with the flour.  Pour batter into a bundt or tube pan prepared with cooking spray.  Place in oven and bake for 55 minutes or until a wooden skewer comes out clean.  Cool in pan for 10 minutes.  Finish cooling on wire rack.

To prepare the glaze, place all ingredients into a saucepan over medium heat, bring to a boil.  Cook for 1 minute, or until thick, stirring constantly.  Remove from heat and drizzle over cake.  Enjoy!

Tuesday, November 09, 2010

Pumpkin Kissed Cookies

When I went home, I had eyes on making some new cookies. 

At first I didn't think I would be able to make it...my dad didn't seem interested in pumpkin.  However, when I showed him the recipe he decided it would be okay.  At first I was worried about the cookies as they felt pretty cakey.  However, that first night they were great.  The perfect cookies to go with milk.  Overnight, however, they became very soft and moist.  The flavor was still good...and every bite that had a kiss in it was DELICIOUS!

Somehow, I just don't think pumpkin was made to be used in a cookie.  All in all, this has great flavors but the texture is just not my preferred cookie flavor.  If you like softer cookies, though, I highly recommend this recipe from Picky Palate!

"Double Pumpkin Kissed Cookies"
2 sticks softened butter
1 Cup granulated sugar
3/4 Cup packed light brown sugar
2 large eggs (I think I used 1 egg)
1 Tablespoon pure vanilla
1 Cup pumpkin, from can
3 1/4 Cups all purpose flour
1 teaspoon salt
1 teaspoon baking soda
1 teaspoon ground cinnamon
1/4 teaspoon fresh grated nutmeg
12 oz bag chocolate chips
35 or so unwrapped Pumpkin Spice Kisses, quartered

Preheat oven to 350 degrees F.  Cream butter and sugars until light and fluffy.  Beat in eggs and vanilla until well combined then add pumpkin. Place flour, salt, baking soda, cinnamon and nutmeg into large bowl; mix to combine then slowly add to wet ingredients then chocolate and kisses.  Mix only until just combined.  Place dough onto baking pan or stone and bake for 10-12 minutes.  Makes about 4 dozen.

Jenny suggests using a muffin top pan to make larger cookies. She says, "If using muffin top pan, scoop 1/4 Cup dough into each muffin top cup that has been sprayed with non-stick cooking spray.  Press to spread to edges.  Bake 10-12 minutes or until edges begin to brown.  Let cool in pan for 5 minutes before transferring to cooling rack. This makes 24 cookies.

Enjoy!

Sunday, November 07, 2010

Fiesta for my Tongue

A few weeks ago, one friend who just had a baby was home alone.  Her husband was out of town taking one of the wonderful required tests that all medical students have to take (and pay for!).  This test is only offerred in one of five cities in the US.  Anyway, she was alone with her five week only who had recently decided that sleeping was for the birds.  So before Matt left, I told him I'd check on Kalyn and help her out a bit. So, after I returned from my five year college reunion (CRAZY) I called her to see if she wanted supper and a hand with little man.  She, of course, did!  So, I came home and made a yummy Mexican soup.
  I had planned on putting shredded chicken in it, but my chicken was spoiled...that's where the funny smell in my refrigerator was coming from.  Oops!  Anyway, it turned out great despite the lack of meat.  The only thing I'd do next time would be to decrease the barley and increase some of the veggies.  Otherwise, Delicioso! 

Mexican Bean Soup
1 onion
1 green pepper
1 teaspoon garlic
1 cup uncooked barley prepared by package instructions
4 cups (though I'd probably use closer to 6 cups next time) stock (chicken or veggie)
2 cans black beans
1 can corn
1 can tomatoes with chiles (I'd use more next time!  2 even 3 cans)
cumin
garlic powder

Cook barley as instructed on the package.  In stock pot, saute onion, pepper, and garlic.  Season with cumin and garlic powder.  When onions are clear add barley, beans, corn, and tomatoes.  Add enough stock to make it the desired consistency and allow to simmer for 20 minutes.  Taste and reseason as needed.  Top with salsa, cheese, sour cream/Greek yogurt as desired.  I served with a slaw salad.  Enjoy!

Friday, November 05, 2010

Donut or muffin?

My department at work is struggling...we have 5 women who are either pregnant or just had babies!  Three of those are fellow residents, which means that we have a decreased work staff to cover the hospital...but we are making due.  And being pediatricians...we LOVE babies!!!  Needless to say, we also love a good excuse for a party and we have been having quite a few showers lately.  For the first shower, I took a couple of things:  grape salad and donut muffins. 

First let's talk about the donut muffins.  You dip the finished muffins in butter and then drench them in cinnamon sugar.  Tell me, HOW could that not be good!  Everyone loved them.  And if you want to get a great grape salad recipe, come back again soon...this is a GREAT shower snack!

Donut Muffins from lemanda at Tasty Kitchen

1-¾ cup Flour
1-½ teaspoon Baking Powder
½ teaspoons Salt
½ teaspoons Nutmeg
½ teaspoons Cinnamon
⅓ cups Oil
 ¾ cups White Sugar
1 whole Egg
¾ cups Milk

FOR THE TOPPING:
¼ cups Butter
⅓ cups White Sugar
1 Tablespoon Cinnamon

Preheat oven to 350 degrees.  Mix flour, baking powder, salt, nutmeg and cinnamon.
Combine oil, sugar, egg and milk. Add dry ingredients and stir only to combine.Bake at 350 degrees for 15-20 minutes. While muffins are baking, melt the butter in a bowl. Combine the white sugar with the cinnamon in another bowl.
Shake muffins out while still hot. Dip muffins in butter, then into the sugar/cinnamon mix. Let cool.  Enjoy!